Supplies: cereal boxes + masking tape + invisible tape + glue stick + scissors + X-Acto knife + straws + magazines
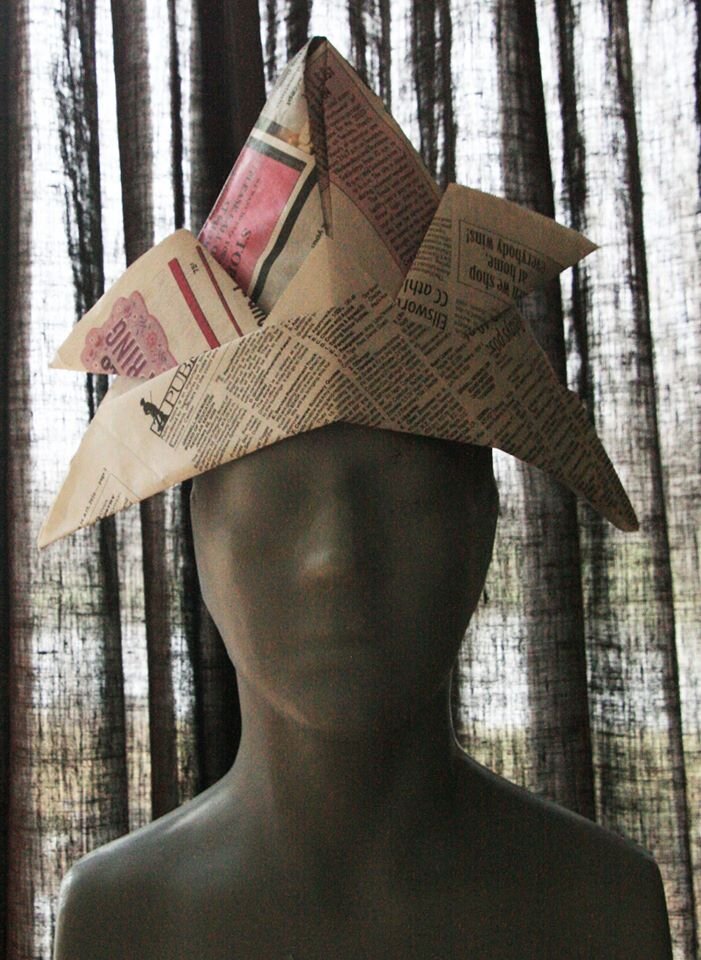
Build a helmet using the “How to make a helmet” instructions below, then:
1) Collect pictures from magazines.
2) You will be placing pictures on the back and front of helmet with tape.
3) Find pictures to attach to straws with tape.
4) Place them in the middle and sides of your helmet with tape.
5) Use as many pictures attached to straws as you would like.
Take a photo and post them, send to friends or to me!
How to make a helmet:
1) Open top and bottom of two cereal boxes. Find the side seam on each box. Open up and flatten.
2) Cut off extra flaps.
3) Overlap the two boxes about an inch. Tape the seam with masking tape on both sides. This makes one large piece.
4) Take the piece and wrap it around your head to make a cylinder. Overlap at least 1 inch. You can cut off some if you have too much overlap. Tape with masking tape inside and out. (For larger heads you may need more that two boxes.)
5) Cut out one long or two short rectangles for eyes. As an option, you can cut a piece of clear plastic and put it inside the helmet over the eye openings as a shield.
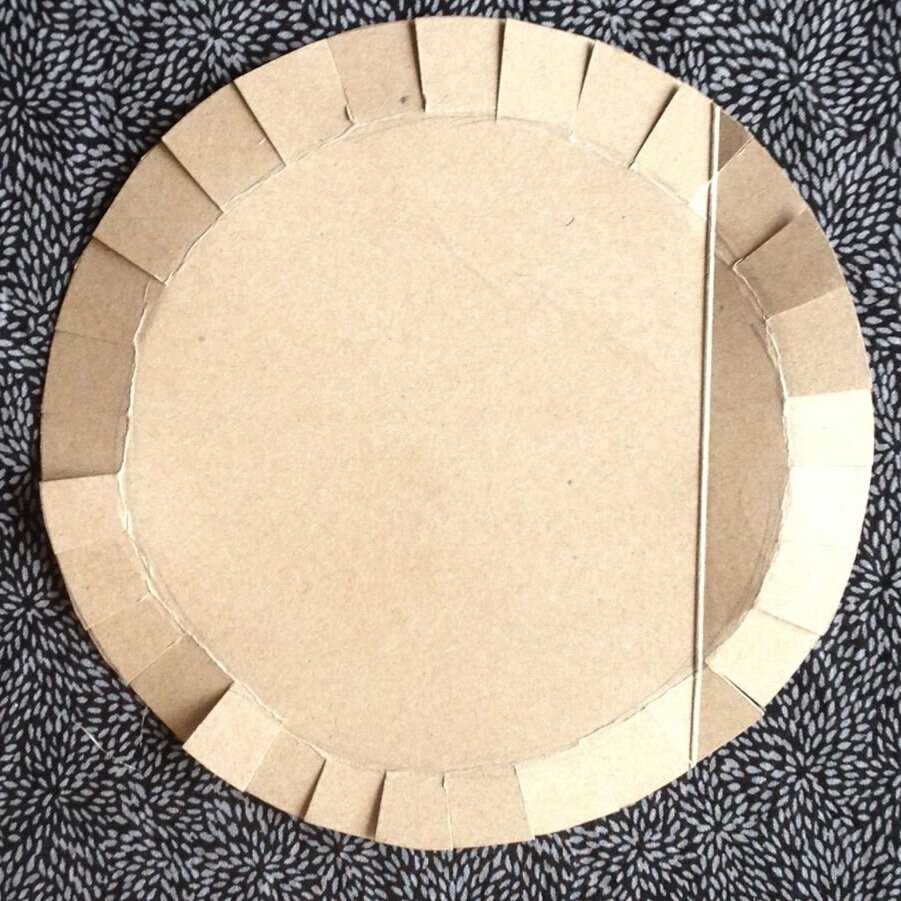
6) Measure circle for top of helmet using the cylinder you just made. Add about 1/2 inch extra all the way around the circle.
7) Cut out circle.
8) Go around the circumference and make 1/2 inch cuts into the circle. This will make tabs all the way around.
9) Fold the tabs down.
10) Fit circle into the cylinder. The tabs will go inside. Tape the tabs inside the cylinder with masking tape. This forms the helmet.