

(Have fun--there are no mistakes!)
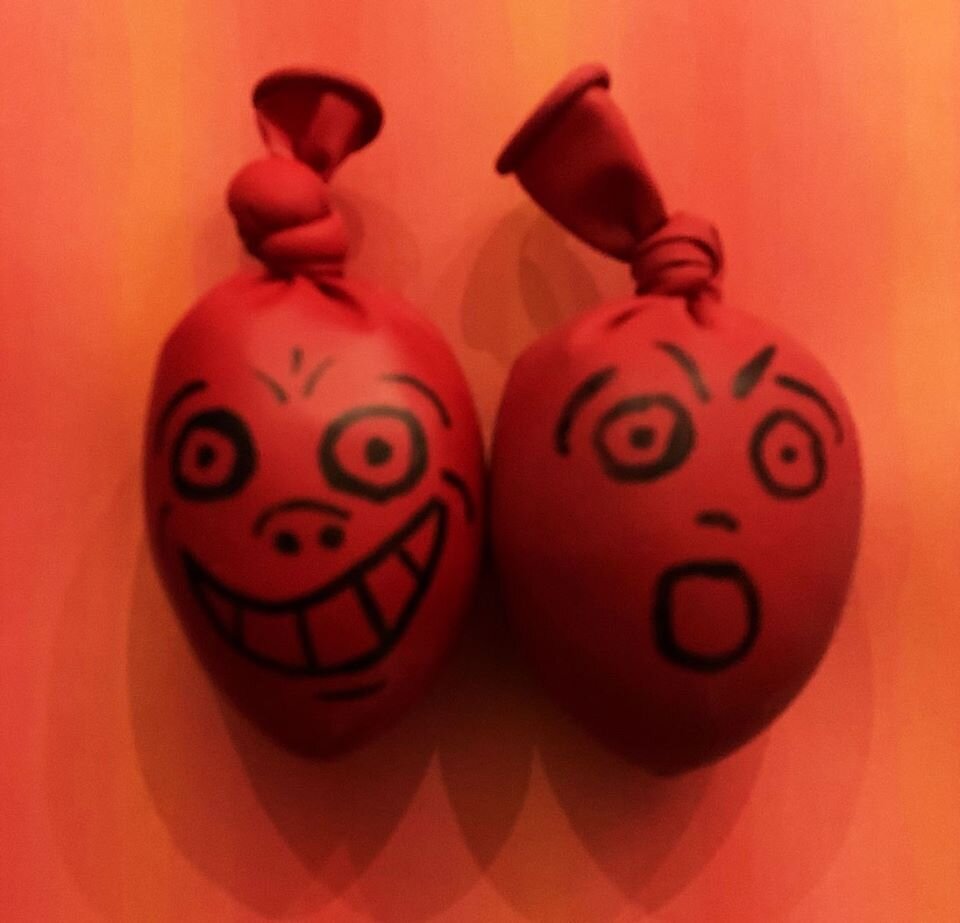
Supplies: Balloons+flour+funnel+marker
How to:
1) Fill balloon with flour to palm size.
Balloon will naturally expand.
2) Tie balloon closed.
3) Draw a face or design.
4) Squeeze to relieve stress!!
Take a photo and post them, send to friends or to GAAC for us to post!

Haikus
Haikus are a type of Japanese poetry that are 3 lines long and have 5 syllables in the first line, 7 syllables in the second line, and 5 syllables in the third line. Traditionally, haikus focus on a moment in nature, but they can be about anything! Write these as a group or individually. For another activity, have the kids illustrate their haiku.
Materials
Paper
Writing Utensil
Coloring materials (optional)
Instructions
Pick a subject! This is the best part.
Following the 5-7-5 syllable pattern, write about your subject. The lines do not have to rhyme at all, and the last line should point out something about the subject.
Examples
Popsicles
So many flavors.
Icy cold and very sweet.
I love popsicles.
Squirrel
Furry brown squirrel
Clicking angrily at me
While it eats a nut.
Stormy Weather
Grey haze covers the sky.
Humid air against my skin.
A storm is brewing.
Tips
To truly capture the subject, focus on what it looks, feels, smells, sounds, and tastes like.
You-in-a-Cup Pop-Up
This is our little version of a jack-in-the-box. But instead of a clown jumping out, it's you!
Materials
Yogurt container or other plastic container with lid
2 pieces of construction paper of equal size cut into 1-inch wide strips
Printed photo of kid's face
Glue sticks
Scissors
Instructions
Make a paper accordion spring: overlap 2 paper strips at the ends to form an L shape. Glue or tape together. Tightly fold the bottom strip over the top strip. Repeat with the opposite strip. Continue doing this until the length of the strips are folded. Tape or glue the other strips onto the folded strips when needed. Glue the final flaps together. You now have a paper spring.
Glue one end of the spring inside cup.
Cut out and glue the picture of the kid’s face to the other end and place lid on top. When opened, the face springs out at you.
Character Map
Using the following categories as a guide, let the kids create a character. With the finished description, have the kids write a story based on the character or illustrate what they think this character looks like.
- Name
- Personality
- Favorite things
- Dislikes
- Family
- Friends
- Appearance/looks
- Whatever else you want to add!
Felted Mini Purses
Materials
- Old 100% wool sweater
- Hot glue gun & glue
- Scissors
- Miscellaneous materials like pom-poms, felt, fabric scraps
Instructions
- Pre-wash the wool sweaters in hot water and dry in the dryer. This will significantly shrink them as well as felt them.
- Cut off a rectangle of the felted sweater.
- Fold the rectangle in half to make a pocket.
- Glue the sides of the pocket, leaving the top open.
- With the rest of the sweater, cut into strips.
- Glue the strips together by ends to make a longer strip.
- Glue each end of the strip to the back of the pocket. This is the strap.
- On the top side of the pocket use glue to attach decorations. We made little raccoon faces and even a tail on one, which we attached to the back of the purse.
Tips
- Instead of cutting a rectangle, cut off a ring of the sleeve. This way, you only need to glue the bottom.
- Adjust the strap by cutting the felt strip to any desired length before gluing.