

Alesia’s Art Activities
Alesia Lacina has a long history of arts education in Grinnell. Here are some of her favorite art activities for you!

Snowglobes
Materials
- Small glass jar, like a baby food jar
- Little figurines and scenery
- Glitter
- Hot glue gun & glue
- Fabric scraps
Instructions
- If together, unscrew the lid from the jar. Arrange some small figurines and scenery inside the lid. Hot glue the scene down in the lid.
- Pour a bit of glitter into the jar. Fill with water.
- Screw the lid back on the jar. Hot glue around the edge of where the lid and jar meet. This will prevent the snowglobe from being opened.
- Take a small fabric scrap and hot glue it around the edge of the lid.
- Flip over the jar and the snowglobe is complete.
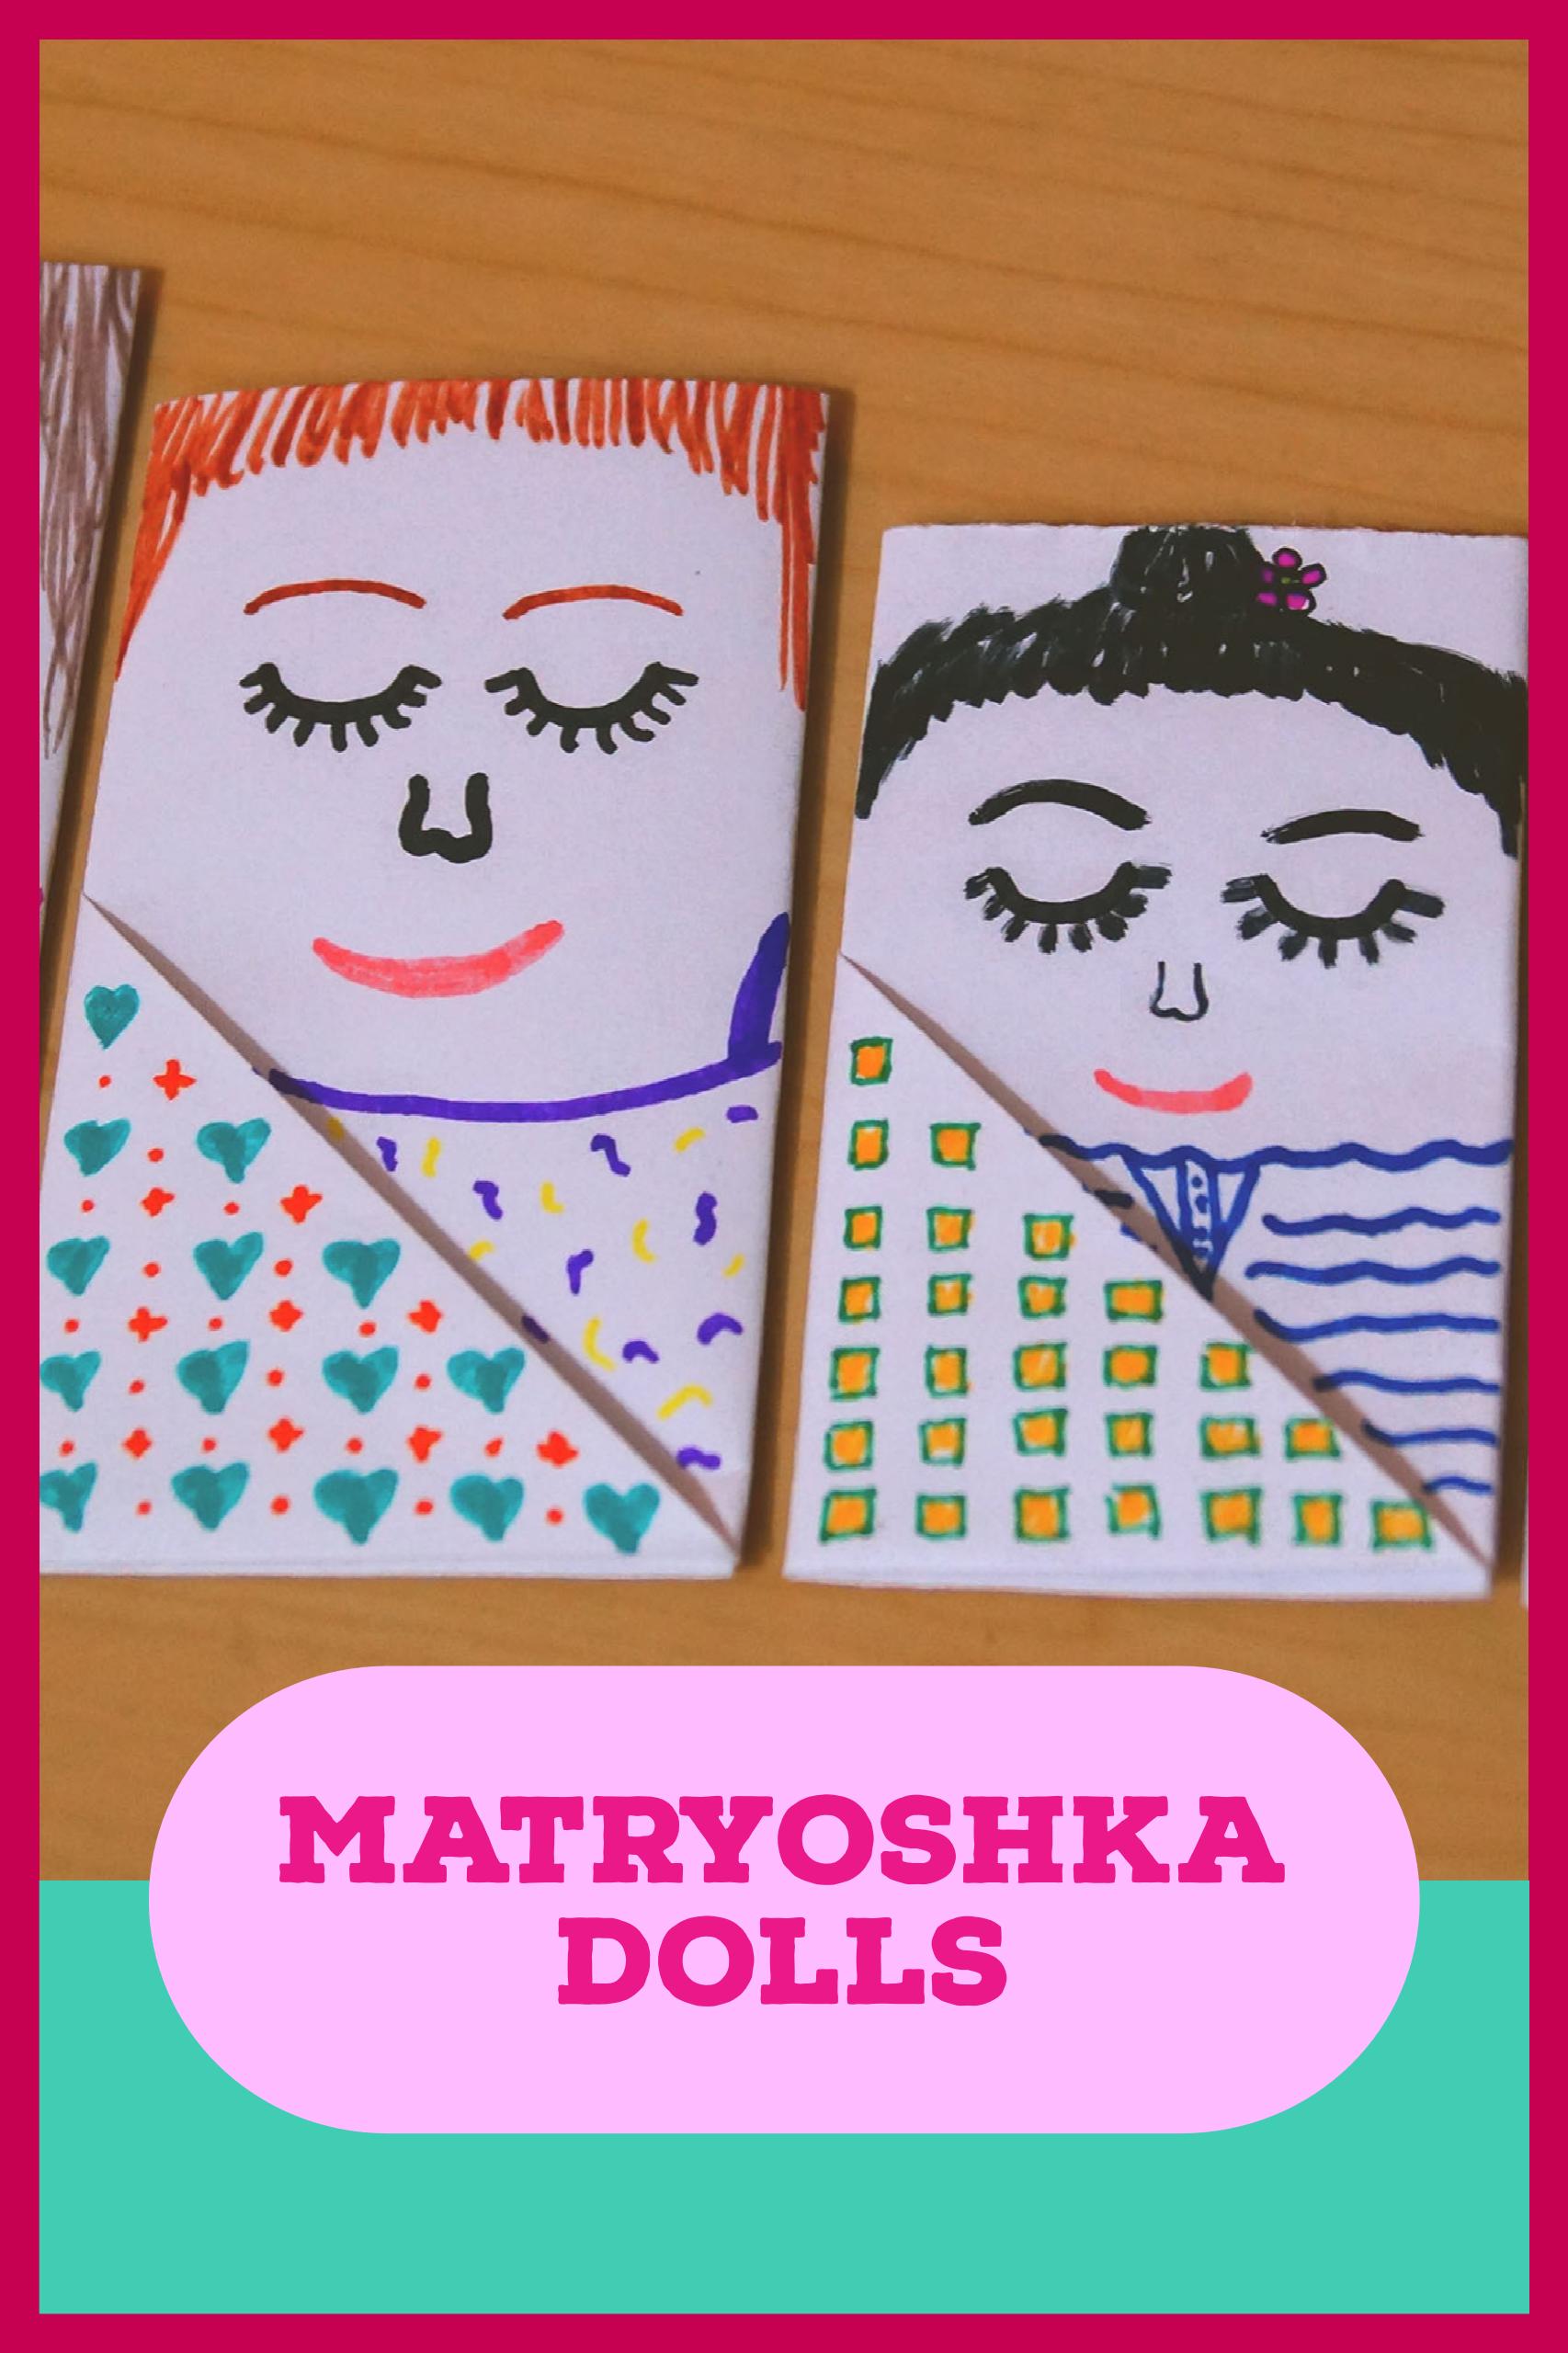
Matryoshka Pockets
Matryoshka dolls, more commonly known as Russian Nesting Dolls, are usually made from carved and intricately painted wood. A small doll nests inside a larger doll, which nests inside an even larger doll. A set is made of five dolls. This version of Matryoshka dolls are made from paper, though.
Materials
- 5 sheets of paper cut to these sizes:
- Doll 1: 8 ½” x 11” paper
- Doll 2: 7 ½” x 10” paper
- Doll 3: 6 ½” x 9” paper
- Doll 4: 5 ½” x 8” paper
Doll 5: 4 ½” x 7” paper
- Ruler
- Pencil
- Scissors
- Coloring materials
Instructions
1. Lay one sheet of paper horizontally.
4. Fold the right side (the rectangular part) in one-third of the way. Repeat so the entire rectangle portion of the paper is folded.
7. To make the smaller dolls, trim an inch off the paper size of the previous doll both vertically and horizontally. Repeat steps 1-5 with each paper to make a set of dolls. When all of the dolls are folded, color them!
2. Take the bottom right corner and fold it up diagonally to create a triangle. There will be a small strip of extra paper to the left of the triangle.
5. Repeat so the entire rectangular part is folded.
3. Fold the paper in half horizontally by bringing the bottom edge up to the top edge. Turn over.
6. Fold the triangular flap to the right, over the rectangle. In the corner, there should be a pocket. Tuck the flap into this pocket. Turn over. This is the largest nesting doll.
Source
- Book: "Handmade Tales: Stories to Make and Tell" by Dianne de Las Casas

Marble Mazes
Materials
box (Nutrigrain, Teddy Grahams, etc.)
craft knife or scissors
straws
masking tape
marker
a marble
Instructions
Tape the box shut.
Cut out a large side of the box, like in the picture.
Cut straws to different lengths. Tape or glue down the straws to make paths for the marble to go through.
Mark start and finish.
Use the marble to try to get through the maze.
Tips
The kids also had fun trying out each other’s mazes and trying to make theirs “the hardest.”
- While glue does keep the straws in place, tape works the best