

Alesia’s Art Activities
Alesia Lacina has a long history of arts education in Grinnell. Here are some of her favorite art activities for you!

Clay Suns
Materials
Slabs of clay
Extra clay for details
Cutting tools
Instructions
Cut a rectangle or square slab of clay for the base
Cut a circle out of another slab of clay, which will be the middle of the sun.
Add sun rays, a face and other details, making sure they are resting on the base or they will fall off
Encourage the kids to use piece of clay to add details/texture rather than carving out details.
Kiln fire, glaze, and fire again.
Tips
- Looking at the picture, the suns aren't on bases. They may appear sturdy, but the sun rays kept breaking off. Building them on a clay slab base makes the suns sturdier.
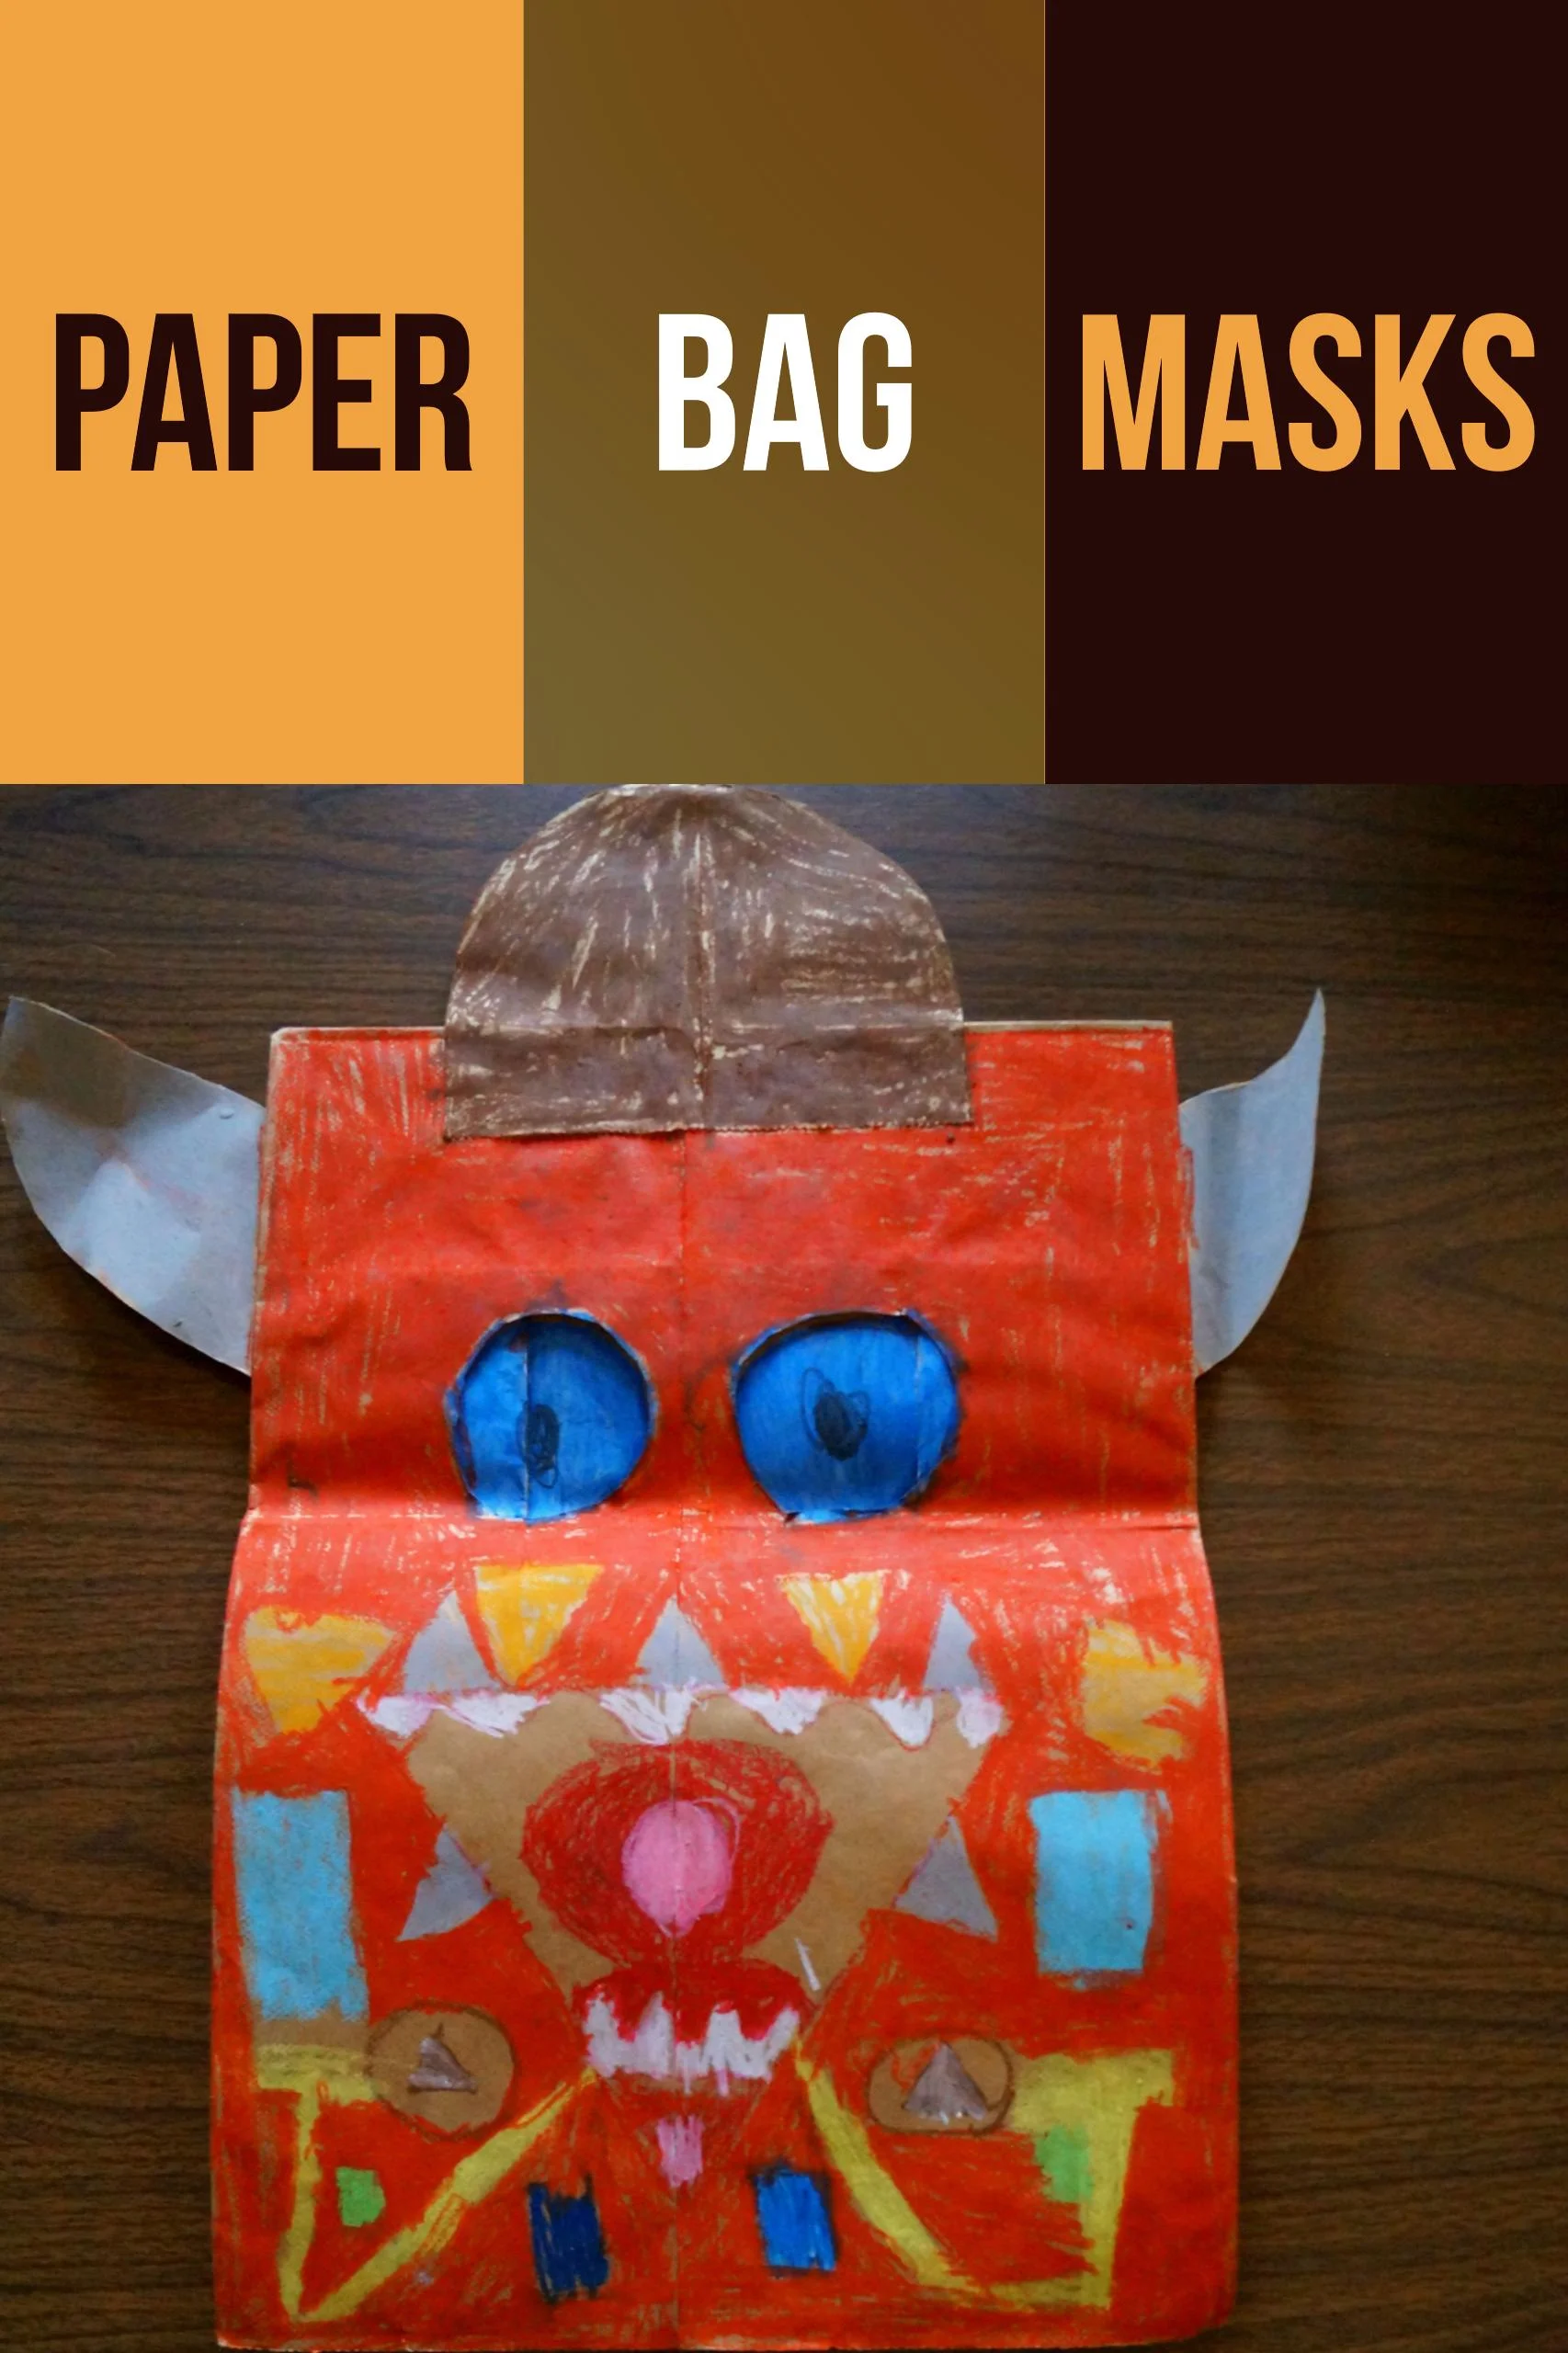
Paper Bag Masks
Materials
- Large paper bag, like those from grocery stores
- Miscellaneous decorating materials
- Scissors
Instructions
- Open the bag and place over the child’s head. Mark where their eyes are on the front of the bag. On the sides, mark where the top of their shoulders are. Take the bag off.
- Cut out large holes where the eyes are marked as well as arches on the sides up to where the shoulder marks are.
- Lay the bag down and let the kid decorate the face.
- Put it back on and wear around.
Tips
- Use the paper cut out from Step 2 to create little accessories or ears to glue onto the bag.

Floam
Floam is a fun science & art project. If you don't know what it is, it is like silly putty with styrofoam beads mixed in. You can't exactly sculpt with it because the putty is not stiff enough, but it's very fun to play with.
Materials
3 cups styrofoam beads
1/2 cup school glue
4 tsp borax
1 cup water
Large bowl to mix ingredients together
Small bowl
Food coloring
Instructions
- Mix borax and water together in the small bowl.
- In the larger bowl, mix together the styrofoam beads, glue, and a few drops of food coloring.
- Stir in 6 TBSP of the borax/water mixture.
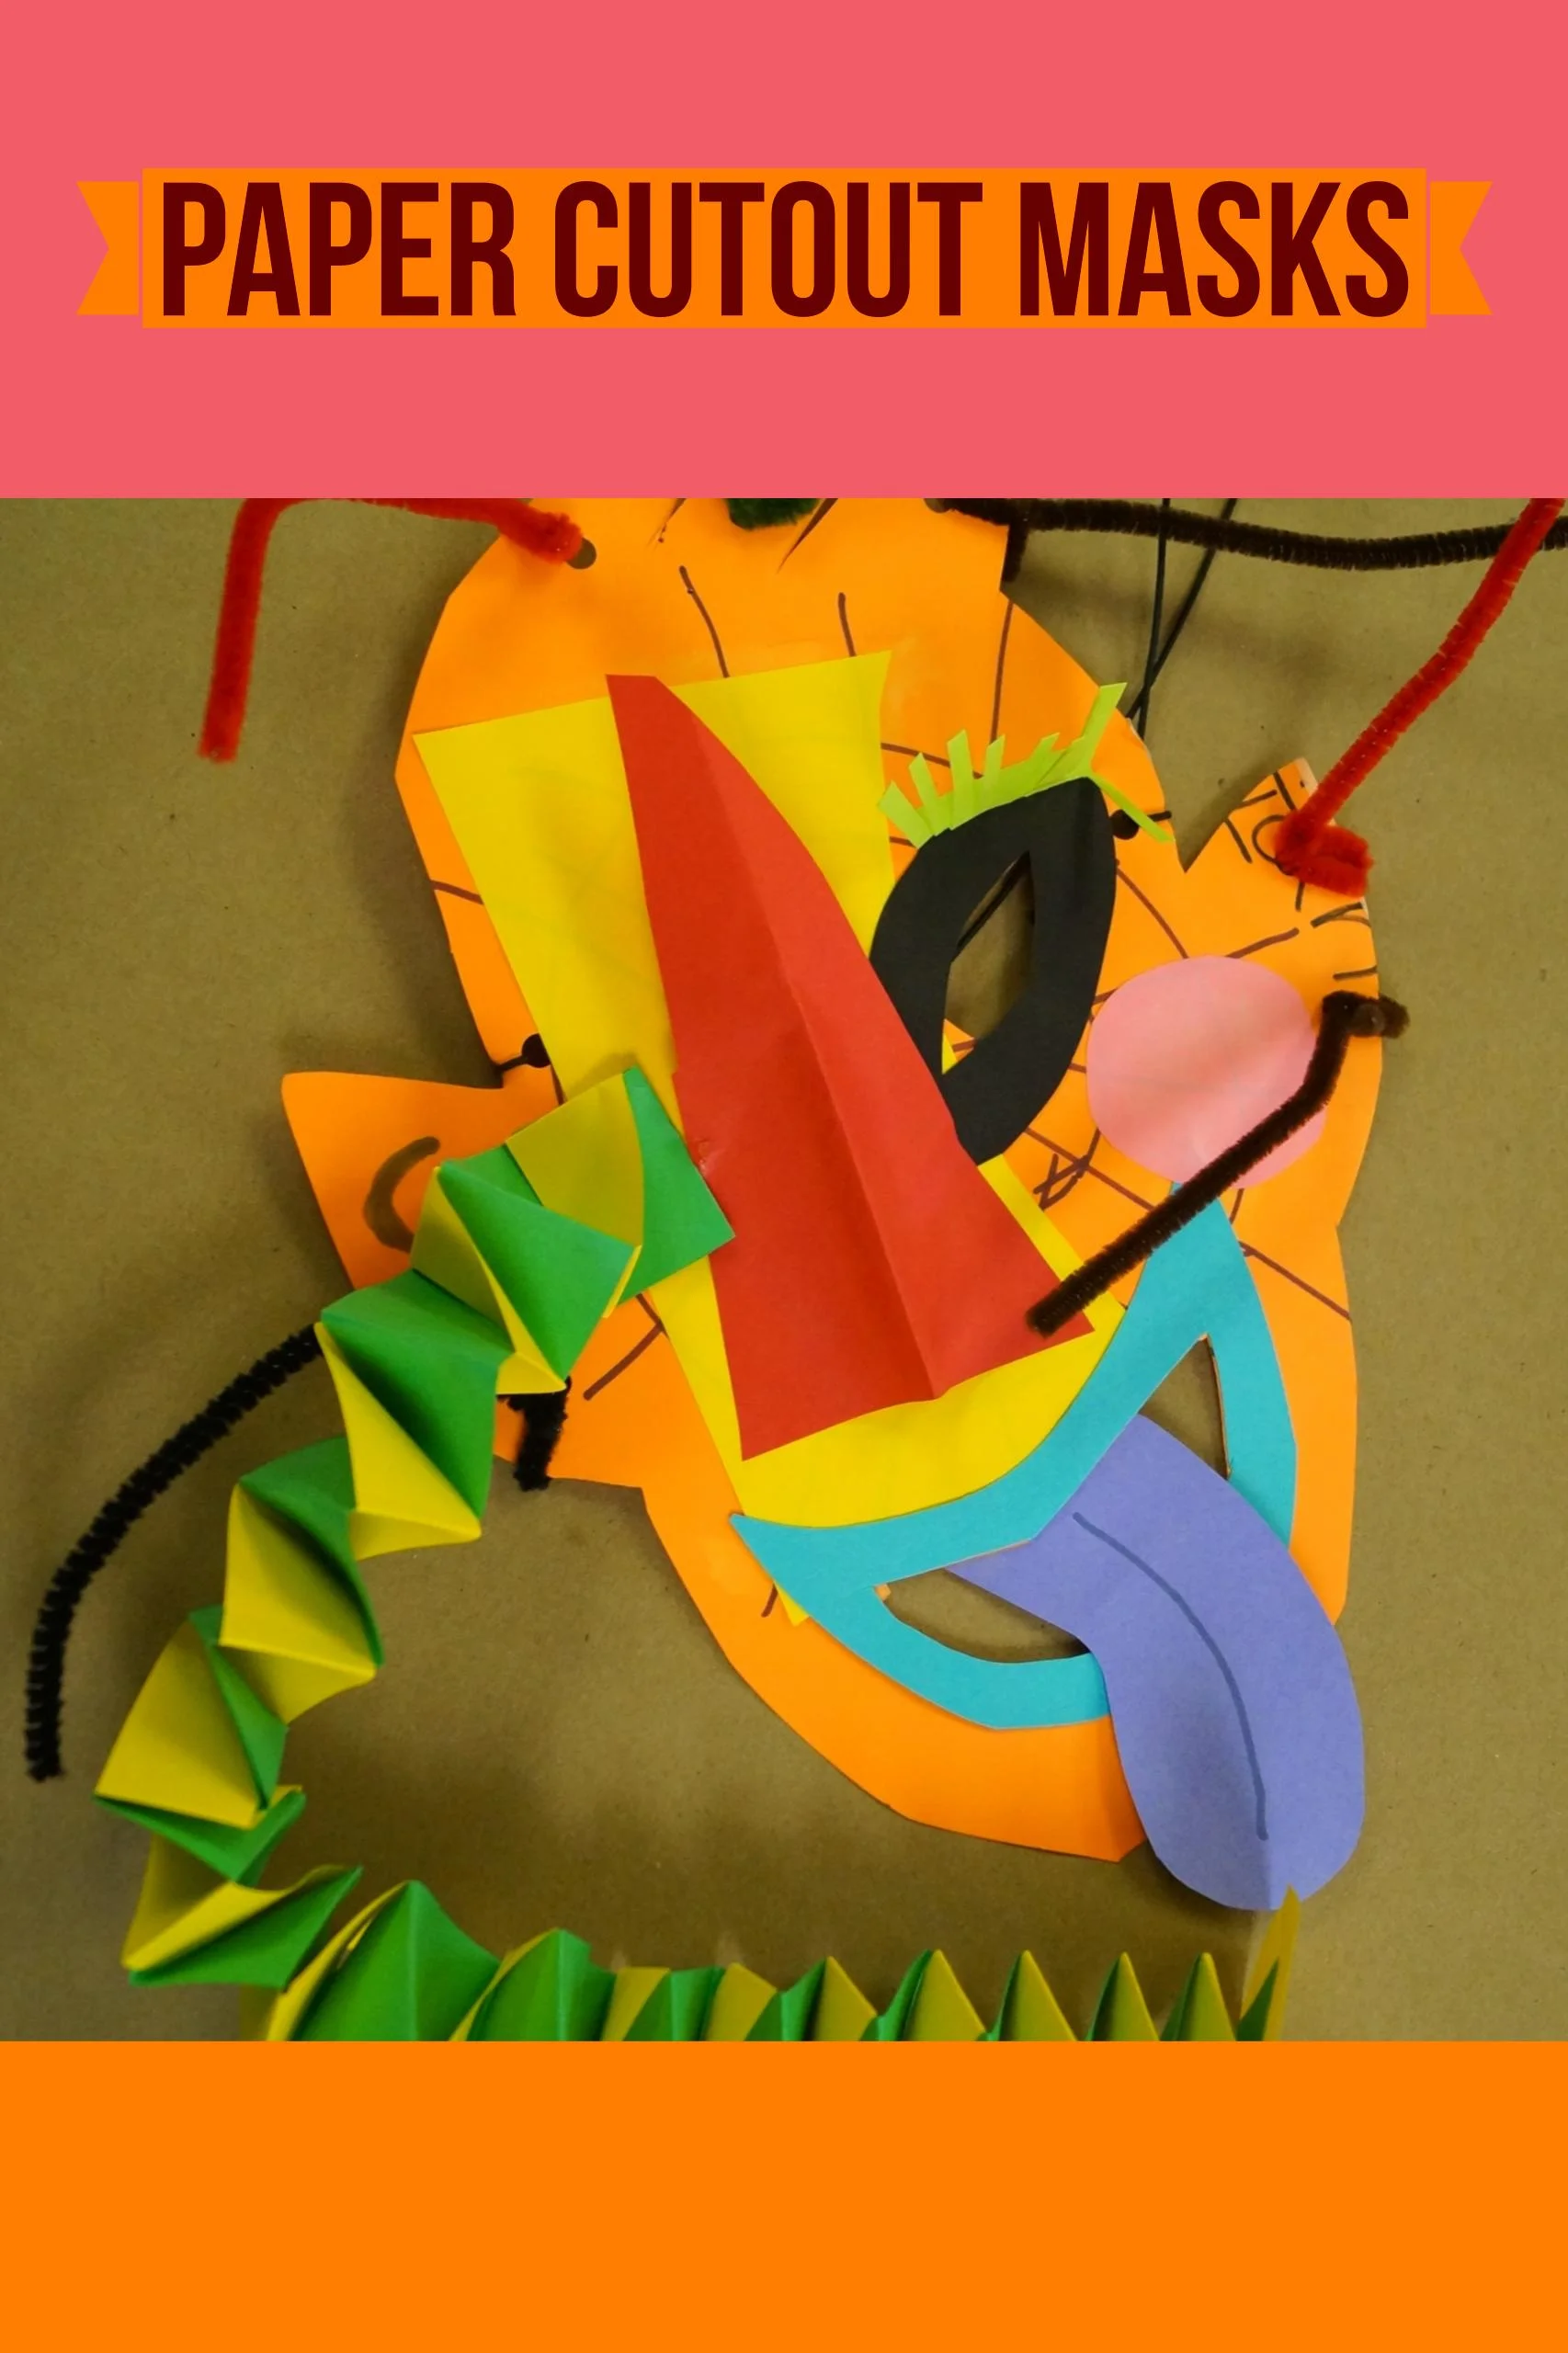
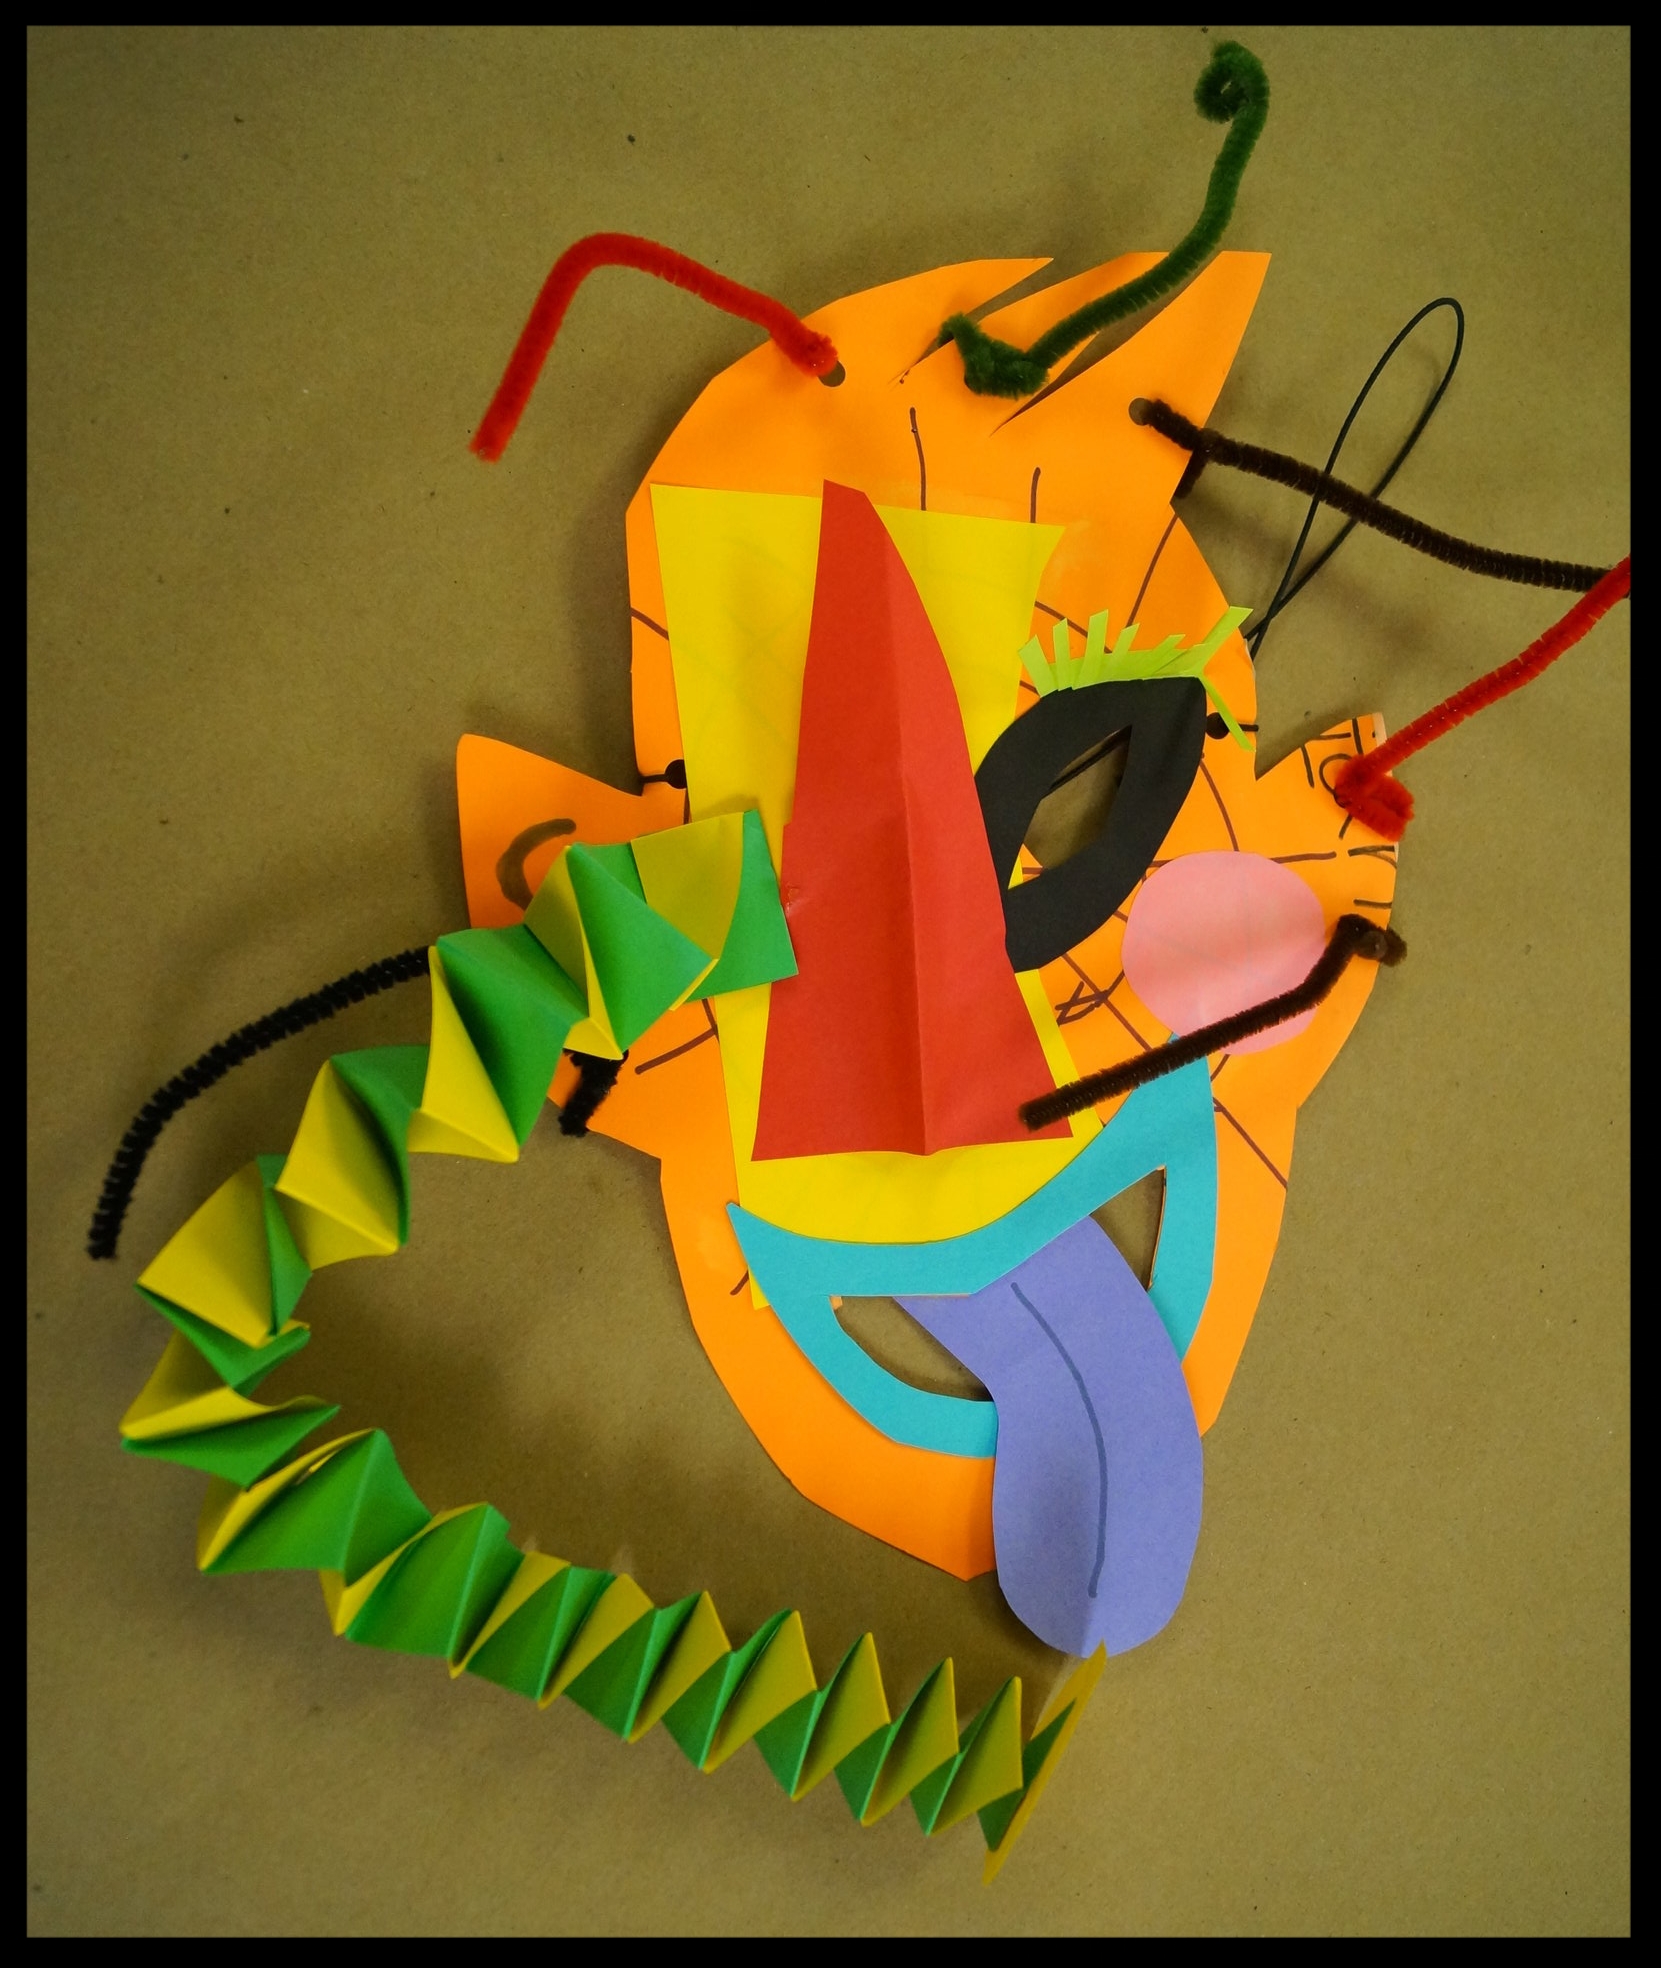
Paper Cutout Masks
Materials
- Paper or cardstock in different colors
- Scissors
- Hole punch
- Elastic string
- Miscellaneous supplies for decorating
Instructions
Cut out a face of person, animal, etc. Don't forget to cut out eye holes, too!
Punch one hole on the right side of the mask. Repeat on the opposite left side.
Thread some elastic string through the holes and knot it.
Decorate the mask with anything.
Tips
The kids, especially the youngest group, had a fair amount of trouble with this project. It was difficult to make eye holes so that it actually worked as a mask. Have an adult cut the holes out.
For the elastic, you may want to measure some around the wearer's head for reference of how much to use.
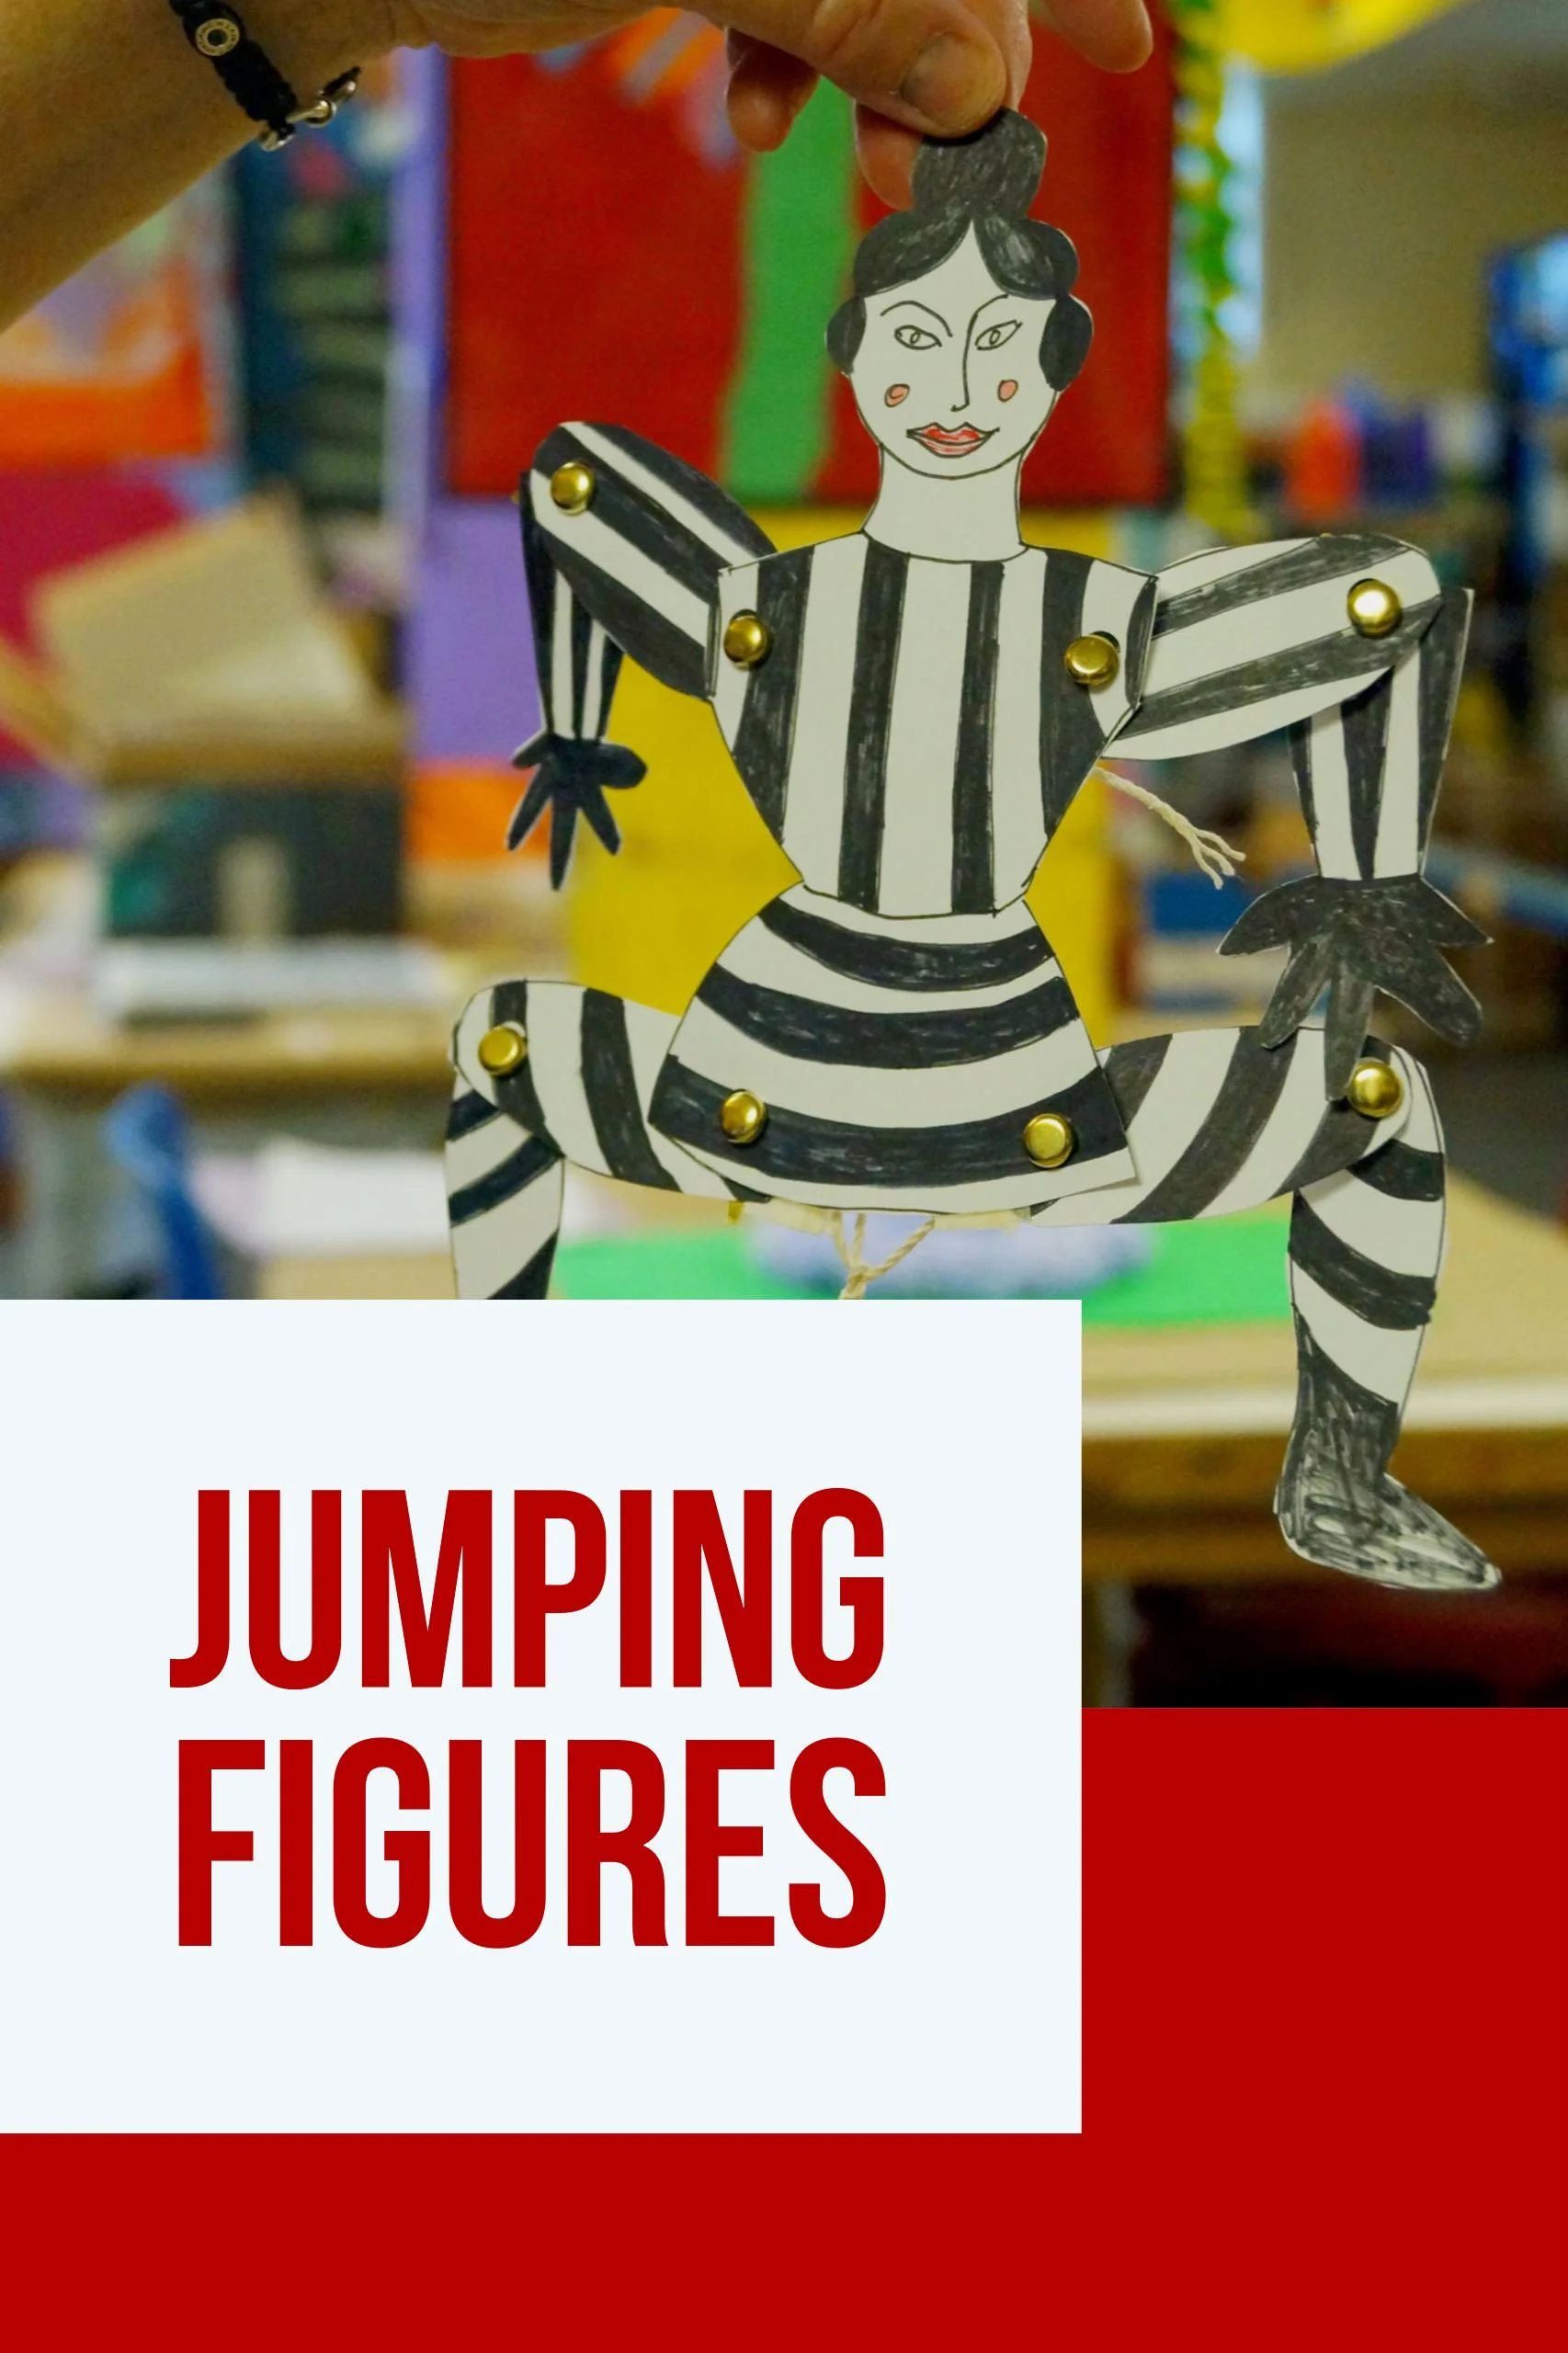
Jumping Figures
The puppets made in this project are fun to play with, but making them can be tricky for kids and adults alike. Hopefully, the steps below will help make the process easier.
Materials
- Cardstock
- Scissors
- Tape
- Paper fasteners
- Thin string
- Hole punch
- Markers
Instructions
1. Cut out shapes from the cardstock to act as the legs, body with head, and arms of an animal/creature/alien. Decorate with markers.
2. Punch a hole in each limb where it will be attached to another body part.
3. Arrange the limbs underneath the body. Attach the limbs and body together by poking paper fasteners through the holes from above and opening the fasteners to lock. Keep the paper fasteners loose, though. The limbs won’t move easily if they are tight.
4. On the backside of the puppet: tape a piece of string across the top pair of limbs, in this case, the arms. The ends of the string must be taped above the paper fasteners for the puppet to work. The string should not be very loose. Trim to size. Repeat for the legs.
5. Take one long piece of string. Tie one end to the center of the string connecting the arms. Tie the string again, but this time around the center of the leg-connecting string. Leave the other end hanging down. There is no specific length the string should be. It will all depend on the size of your puppet. However, when the limbs are down, the string connecting the leg and arm strings should not be slack.
6. To use, hold the puppet from the top and pull the string down. The limbs will move up.
Tips
- Students found this project relatively difficult, and needed help figuring out how to join the pieces of cardstock together.
- Keep the pieces, especially the limbs, wide. Kids like to cut them so narrow that a hole can’t be punched in them.
- These instructions are based on a 4-limbed puppet. We found any more made the moving of the limbs particularly difficult.
Sources
- Book: "Get Creative with Paper" by Paul Jackson and Angela A'Court