
Alesia’s Art Activities
Alesia Lacina has a long history of arts education in Grinnell. Here are some of her favorite art activities for you!
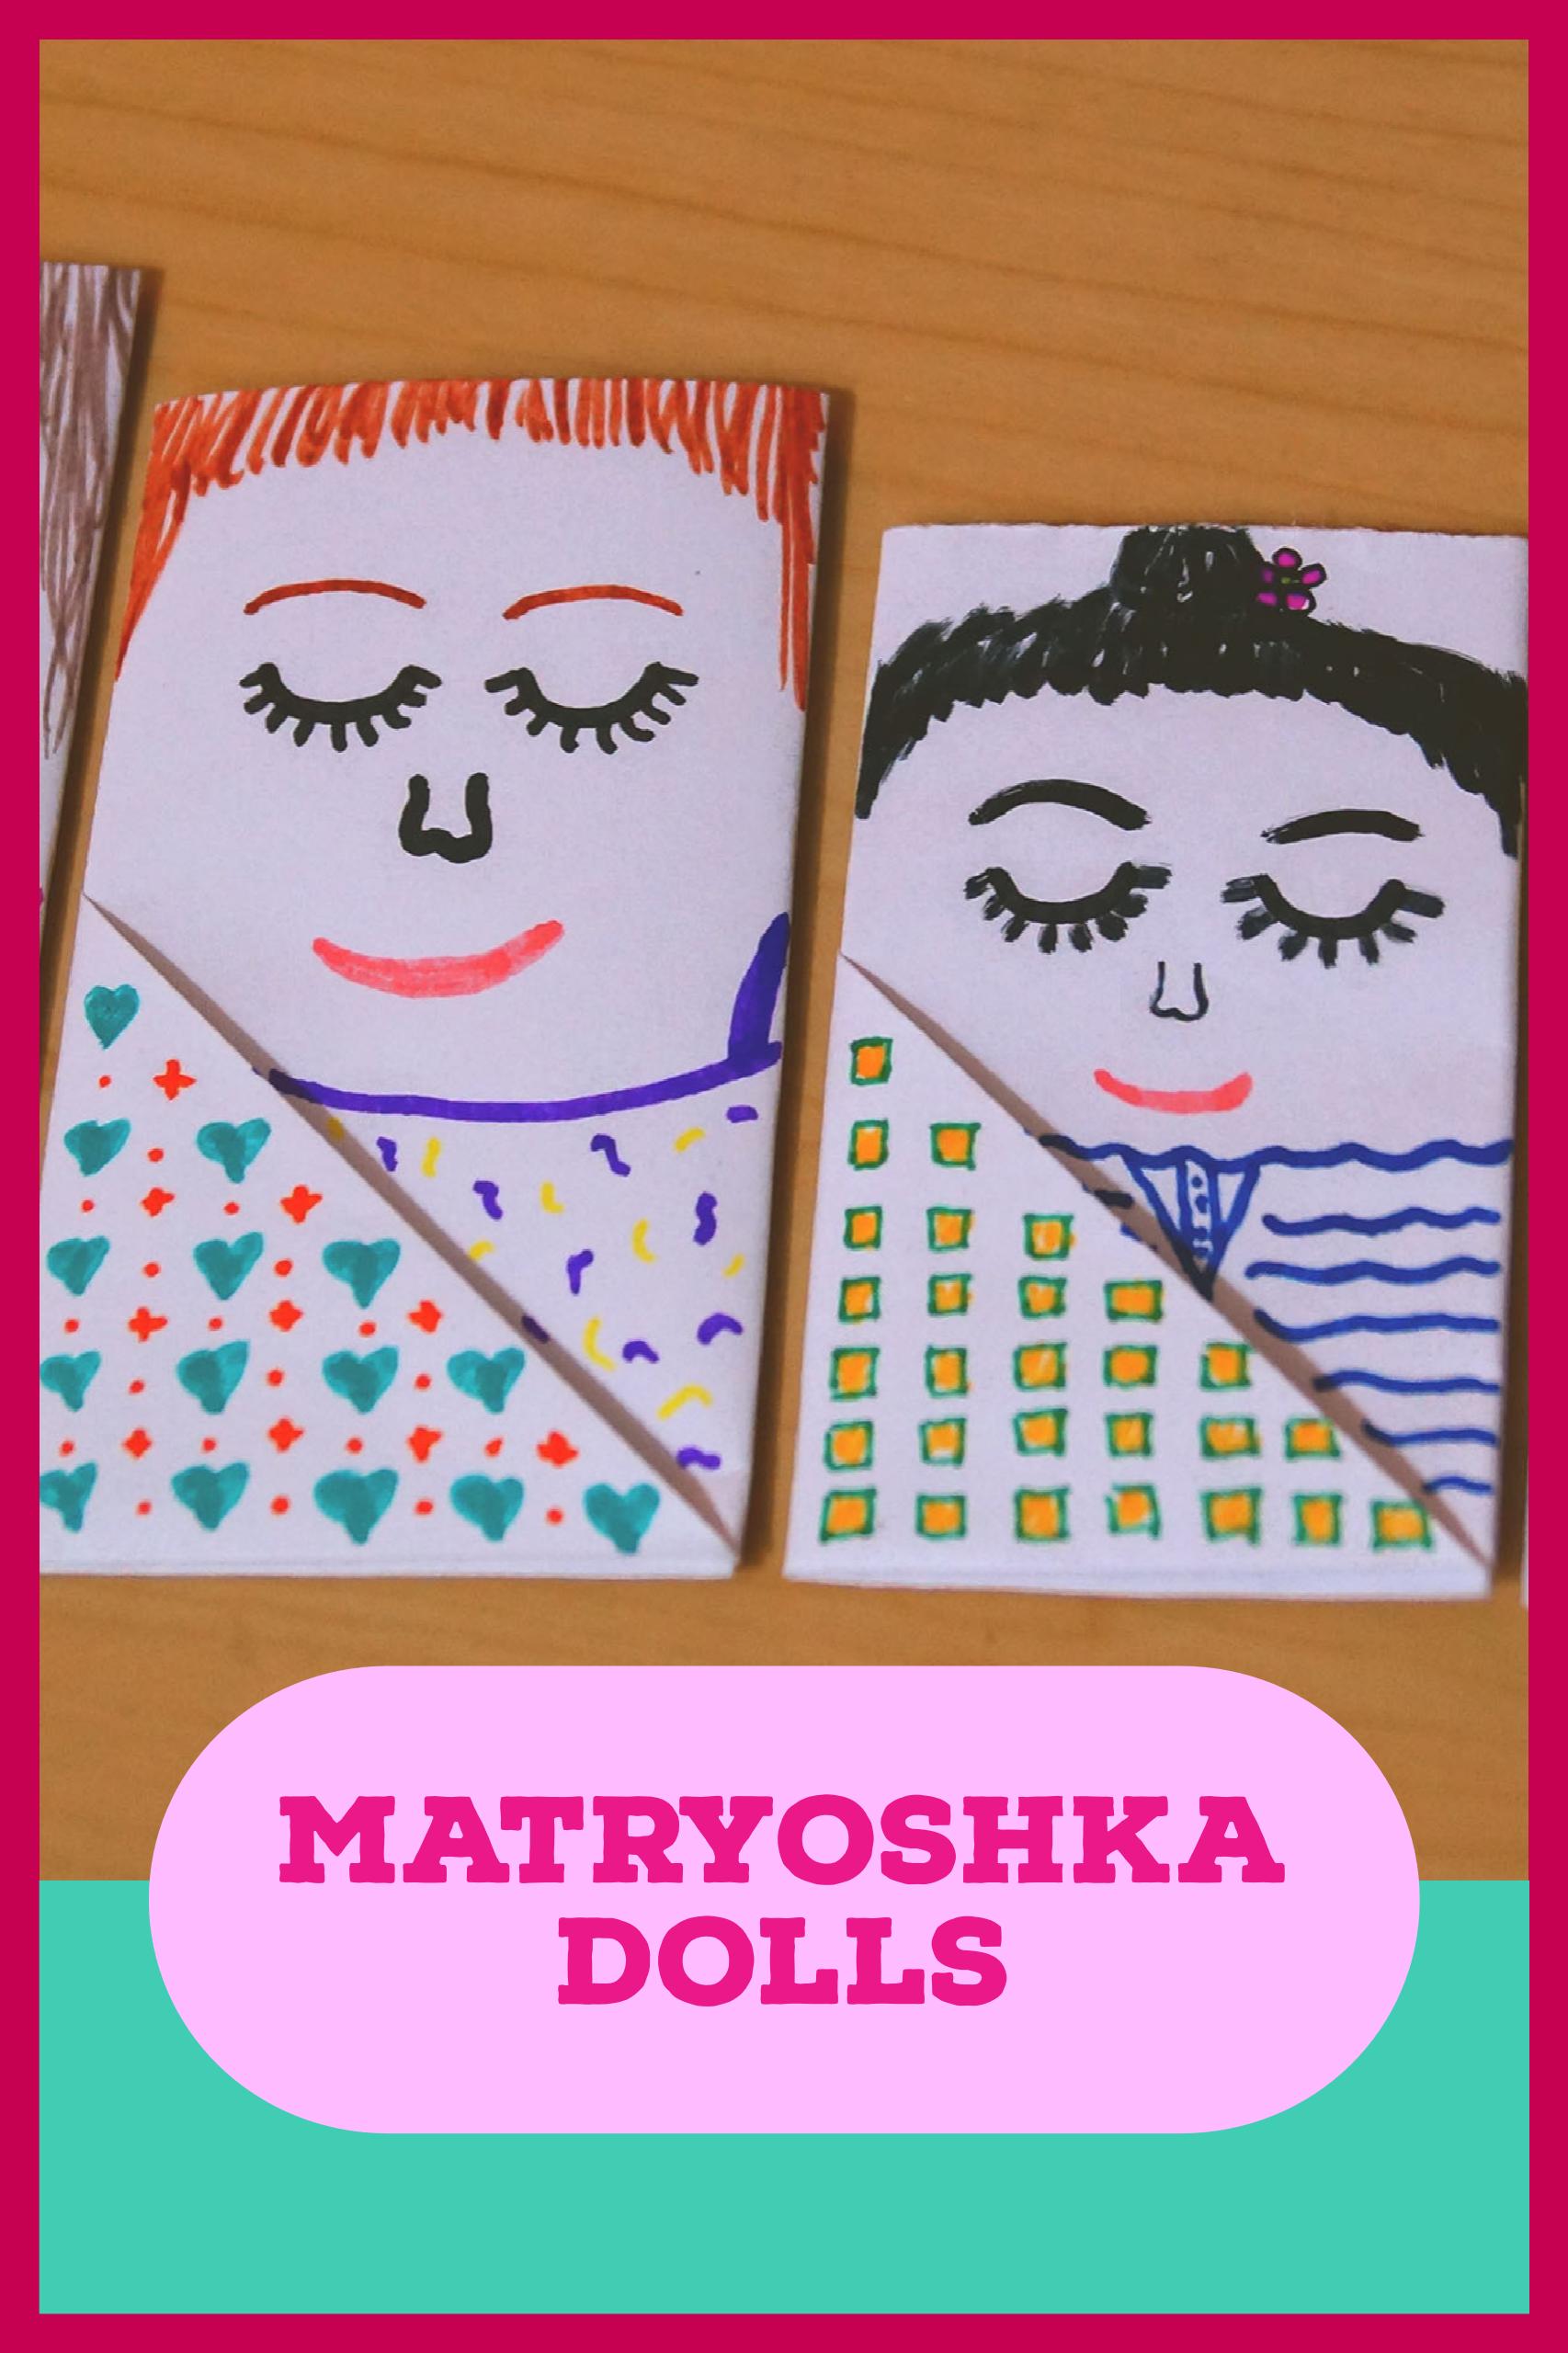
Matryoshka Pockets
Matryoshka dolls, more commonly known as Russian Nesting Dolls, are usually made from carved and intricately painted wood. A small doll nests inside a larger doll, which nests inside an even larger doll. A set is made of five dolls. This version of Matryoshka dolls are made from paper, though.
Materials
- 5 sheets of paper cut to these sizes:
- Doll 1: 8 ½” x 11” paper
- Doll 2: 7 ½” x 10” paper
- Doll 3: 6 ½” x 9” paper
- Doll 4: 5 ½” x 8” paper
Doll 5: 4 ½” x 7” paper
- Ruler
- Pencil
- Scissors
- Coloring materials
Instructions
1. Lay one sheet of paper horizontally.
4. Fold the right side (the rectangular part) in one-third of the way. Repeat so the entire rectangle portion of the paper is folded.
7. To make the smaller dolls, trim an inch off the paper size of the previous doll both vertically and horizontally. Repeat steps 1-5 with each paper to make a set of dolls. When all of the dolls are folded, color them!
2. Take the bottom right corner and fold it up diagonally to create a triangle. There will be a small strip of extra paper to the left of the triangle.
5. Repeat so the entire rectangular part is folded.
3. Fold the paper in half horizontally by bringing the bottom edge up to the top edge. Turn over.
6. Fold the triangular flap to the right, over the rectangle. In the corner, there should be a pocket. Tuck the flap into this pocket. Turn over. This is the largest nesting doll.
Source
- Book: "Handmade Tales: Stories to Make and Tell" by Dianne de Las Casas

Silly Sentences
At first glance, this isn't a craft. Silly Sentences is actually an educational game available for purchase. The basic idea is to create fun, absurd sentences using puzzle pieces which are separated into nouns, verbs, prepositions, and other parts of speech.
To turn this into an art project, let the kids illustrate these entertaining lines. To make it a writing activity, use the silly sentence to spark a story idea.
Materials
Silly Sentences puzzle tiles
Instructions
Toplay with a few kids, divide the pieces between each person. Take turns playing a fitting piece until the sentence is completed.
To play as a group, keep all of the pieces in one pile and let each person choose a piece that will fit.
Source

Watercolor Resists with Oil Pastels
Materials
Oil pastels
Watercolors
paper
Instructions
Draw with pastels on the paper.
Paint over with watercolors. The watercolors should resist the oil pastels, leaving the drawing visible.

Artist Biography Books
Artist biography books are a fun way to teach kids a little art history. These books contain a short biography of an artist to read aloud, an example of their work, and the bookmaker's interpretation and impressions of the artist.
We make one book about each artist, Pablo Picasso and Henri Matisse. We used photocopies of a book's (see Sources below) biographies and painting examples which were then cut out and glued to the book pages. Tweak this project to your heart's content, though. Two ideas are to make one book including both Picasso and Matisse, or include little biographies about other artists.
Materials
Several sheets of construction paper (depending on how many pages you want in your book)
Paper scraps or drawing materials
Stapler w/ staples
Glue sticks
Print outs of biographical information, Picasso painting example, etc. (See Sources or click image at bottom for PDFs)
Instructions
Fold a few pieces construction paper in half (short end to short end) to serve as the outer cover and pages of the book. Tuck them inside each other and staple along the inside crease.
Using the example painting as a model, decorate the cover in the style of Picasso. Using the paper scraps makes a more interesting visual than markers, but use anything.
Cut out and paste the biography and painting example inside the book.
On the last page, write your thoughts about Picasso - do you like his art work? How did you use his ideas/style in your own artwork on the cover?
Source
Book: " What’s the Big Idea?: Activities and Adventures in Abstract Art” by Joyce Raimondo
- For more artist biographies, check out these websites:

CLICK THE IMAGE ABOVE FOR PRINTOUTS

Many Pointed Star
Materials
- Triangle pattern printed on cardstock (PDF below)
- Duct tape or paint & brushes
- Masking tape
Instructions
- Cut out the triangles on the pattern. There are 30 triangles per page. You will need 60.
- Tape three triangles together to make 20 pyramids (without bottoms).
- Tape two sets of five pyramids together along bottom edges.
- On both sets, tape five more pyramids on the edges.
- Reinforce all the edges so that the star is solid.
- Cover the star with duct tape or paint.
Tips
- Make sure there is plenty of tape on the edges so the star does not fall apart.
- It helps younger kids to have cut out for them.
- This project takes a lot of time.

CLICK TO PRINT PDF