

Alesia’s Art Activities
Alesia Lacina has a long history of arts education in Grinnell. Here are some of her favorite art activities for you!
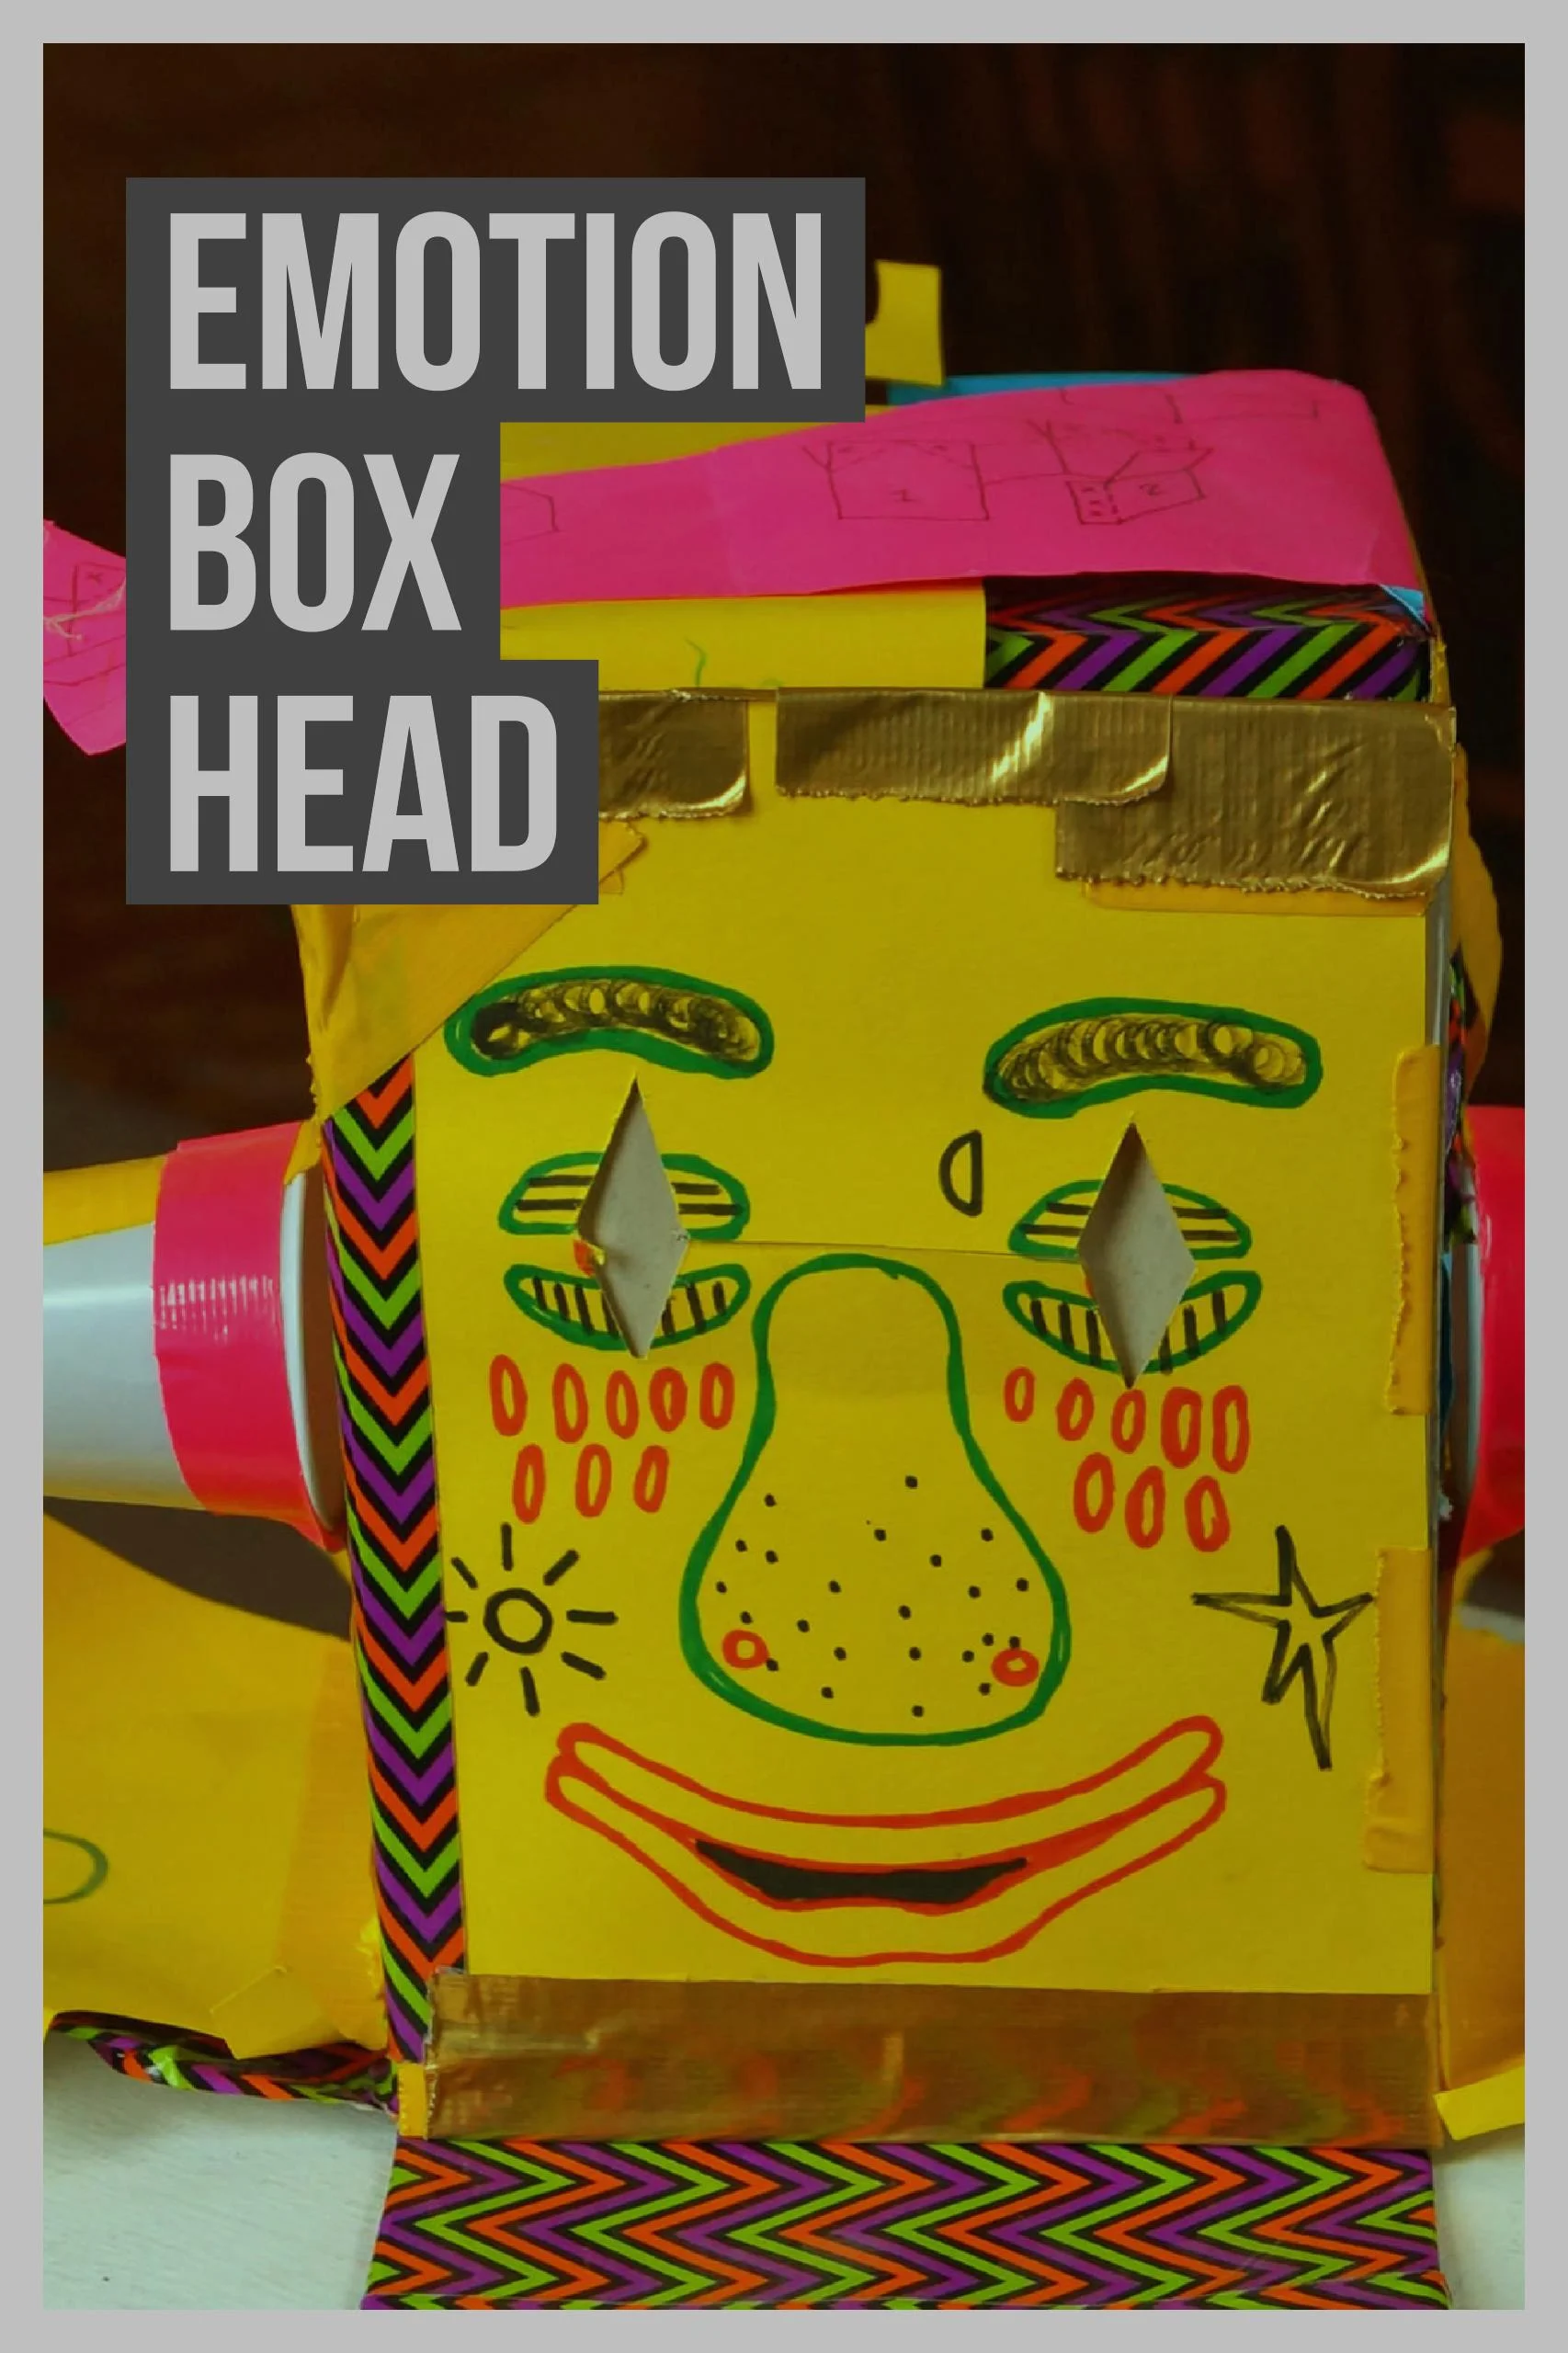
Emotion Box Head
Front side of the flap
Materials
Boxes that will fit over the kids’ heads - the large Goldfish boxes worked well
Misc. Supplies (Paper, scissors, tape, glue, markers, etc.)
Duct Tape
Instructions
Cut 3 edges of one side of the box to make a flap.
Open the flap and cover the hole with duct tape.
Cut out eye holes in the duct tape side.
With anything, create a face on the outer side of the flap showing one emotion.
Create another face on the duct tape side with a different emotion.
To use, put on head with flap closed. Open it up to see another emotion!
Tips
- If the box doesn't easily fit over the child's head, cut a slit up the back of the box as shown in the picture below.
The inside duct tape face
View from the back

Felted Mini Purses
Materials
- Old 100% wool sweater
- Hot glue gun & glue
- Scissors
- Miscellaneous materials like pom-poms, felt, fabric scraps
Instructions
- Pre-wash the wool sweaters in hot water and dry in the dryer. This will significantly shrink them as well as felt them.
- Cut off a rectangle of the felted sweater.
- Fold the rectangle in half to make a pocket.
- Glue the sides of the pocket, leaving the top open.
- With the rest of the sweater, cut into strips.
- Glue the strips together by ends to make a longer strip.
- Glue each end of the strip to the back of the pocket. This is the strap.
- On the top side of the pocket use glue to attach decorations. We made little raccoon faces and even a tail on one, which we attached to the back of the purse.
Tips
- Instead of cutting a rectangle, cut off a ring of the sleeve. This way, you only need to glue the bottom.
- Adjust the strap by cutting the felt strip to any desired length before gluing.

Monster Mash-Up Book
This cute mix-n-match flip book can produce some hilarious results! Make it as scary as you want or add more pages to make more combinations.
Materials
- 2 pieces of white printer paper
- 1 piece of construction paper (at least the same size as the white paper)
- Markers
- Stapler & staples
- Scissors
Instructions
- Fold all of the papers in half length-wise (so the page is 4 ¼” x 11”)
- Place the pages inside of each other like a book, with the construction paper as the cover.
- Staple the pages together at the fold. To do so, unfold the pages and staple through the 3 pages at the crease. Close back up like a book.
- Cut the white inside pages horizontally into thirds. The top third will be for heads, the middle for bodies, and the bottom for legs.
- On the first page (all of the thirds) draw a creature, keeping the body sections separated. Repeat for the rest of the 3 pages.
- Flip the different page sections to mix and match body parts and create weird looking monsters.
Tips
- It takes more time, but the book looks nice when the body sections align somewhat. Try your best!
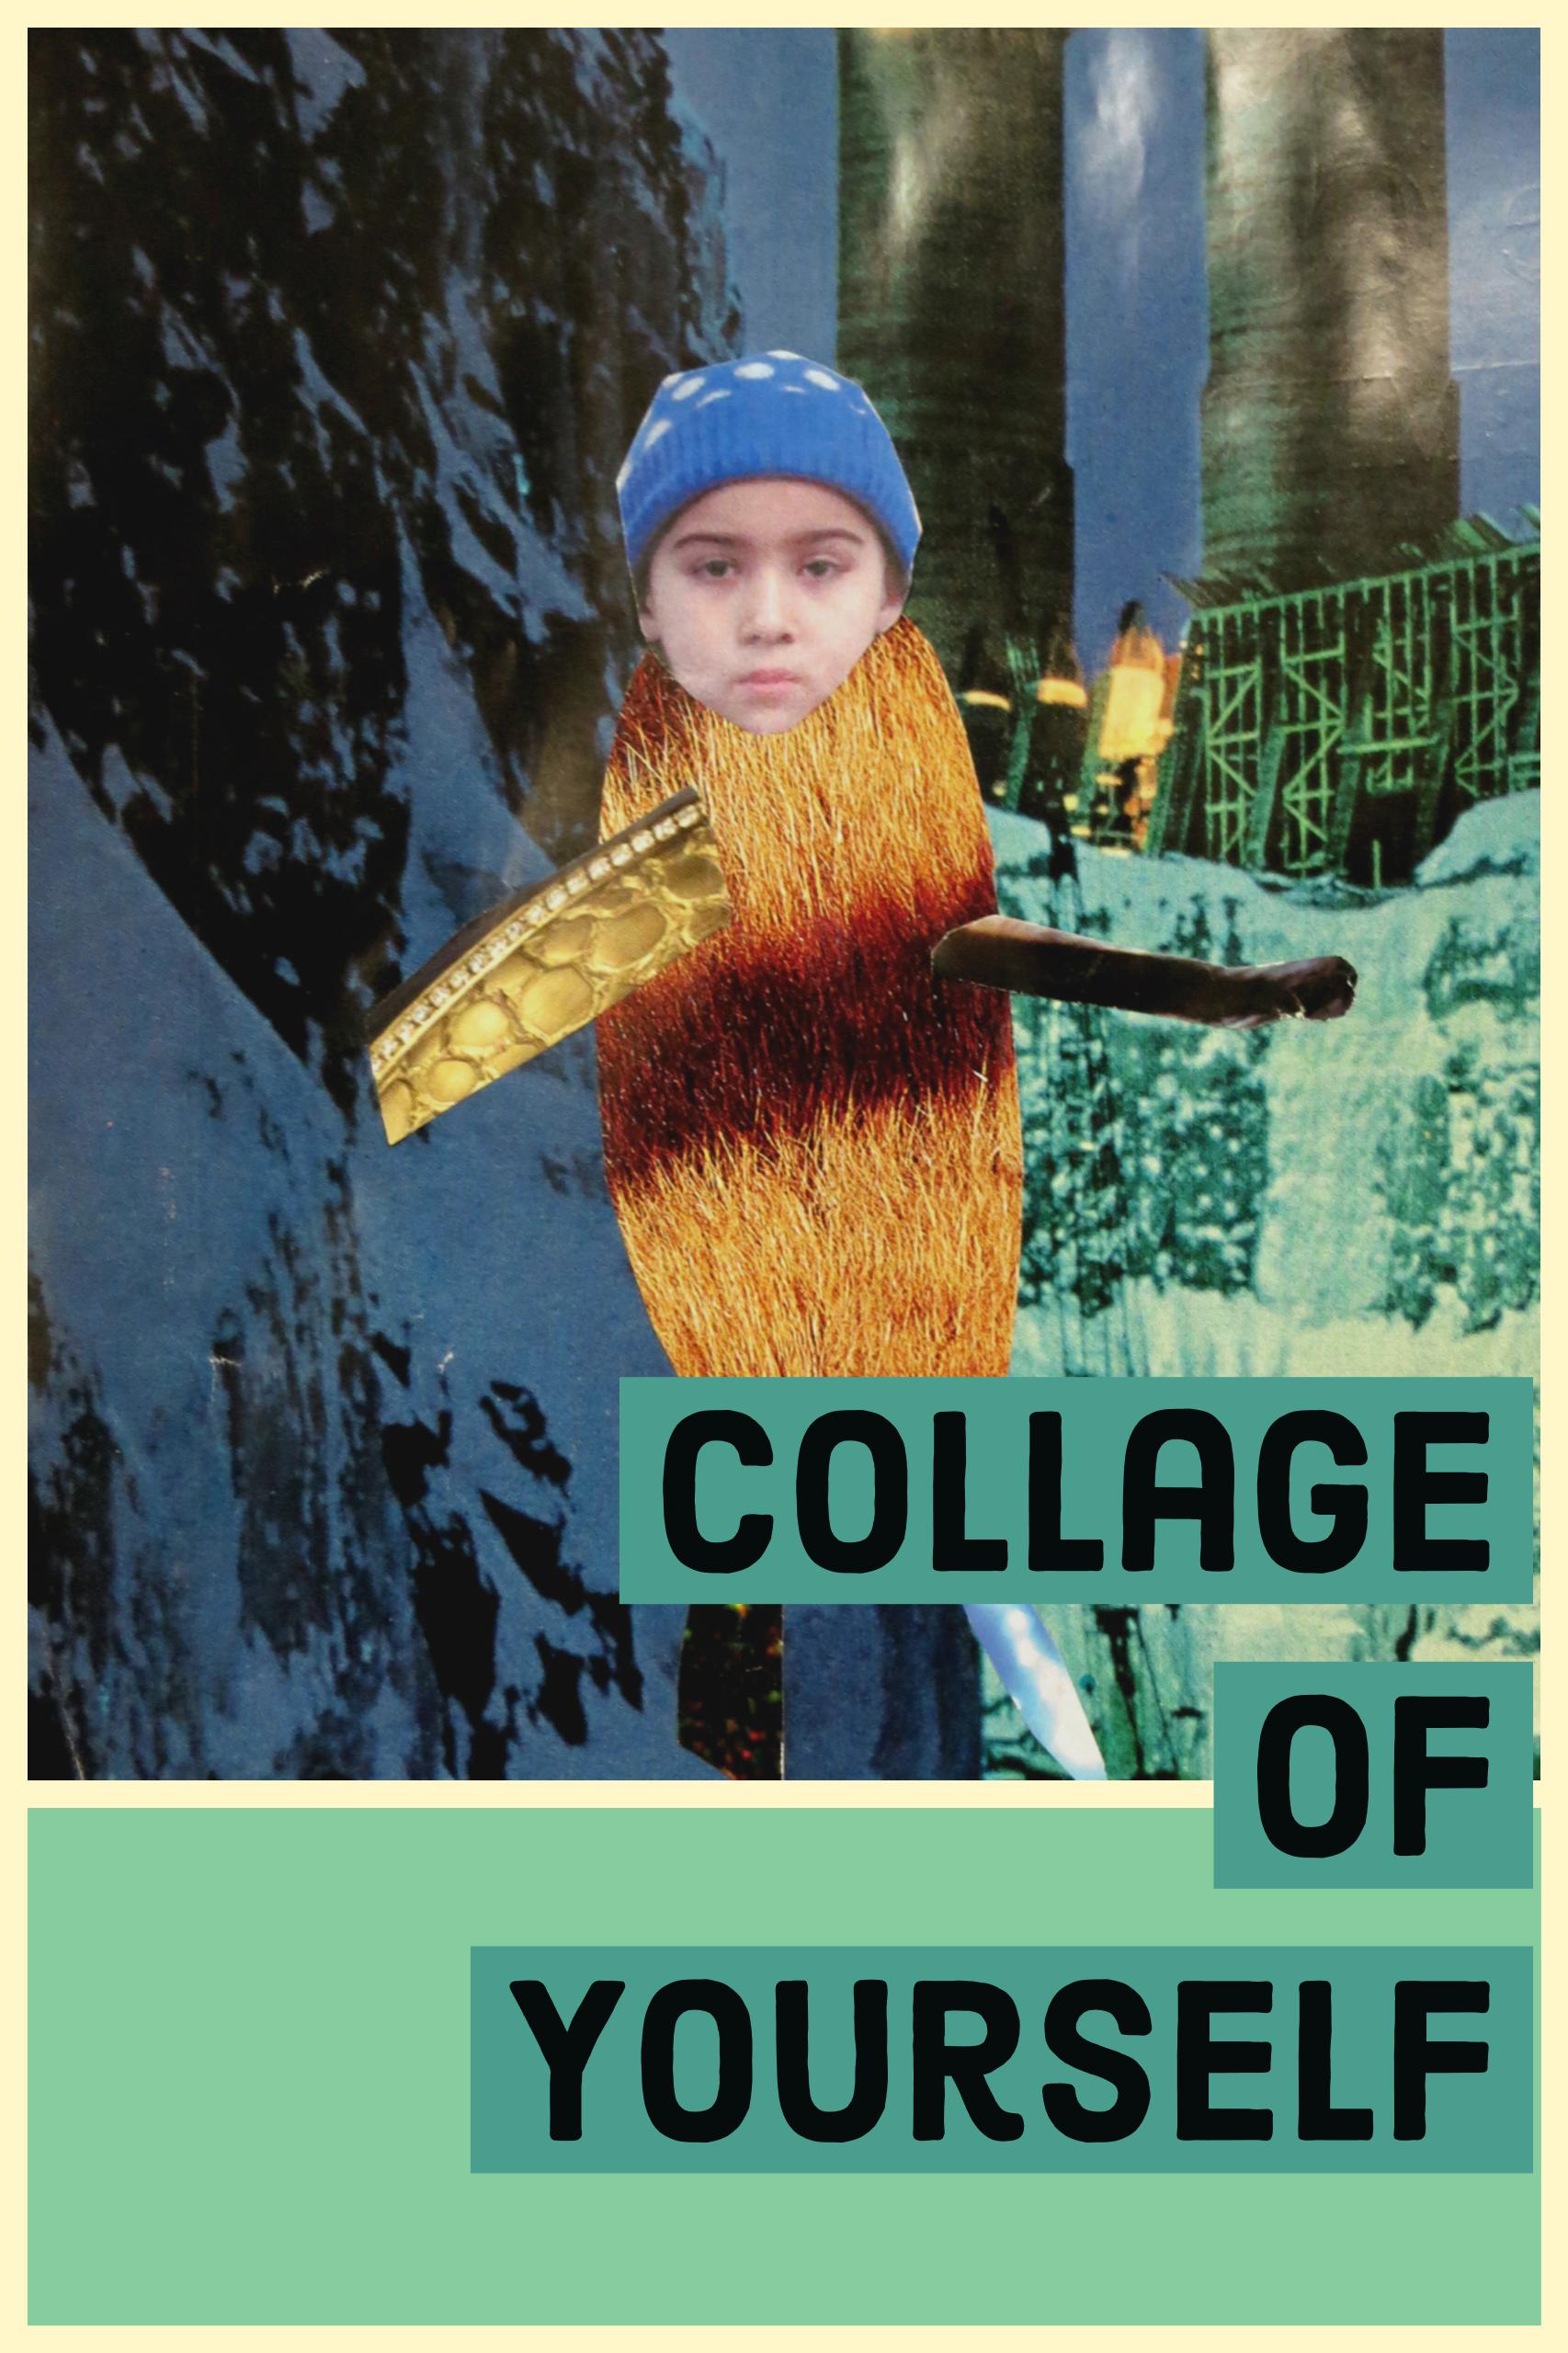
Collage of Yourself
Materials
Small front facing headshot of child printed out
Magazines (National Geographic works really well)
Scissors
Glue
Instructions
- For this project, the kids cut out their heads from the photo. Then they searched through the magazines to find legs, arms, tails, whatever body parts they wanted to make. Have kids cut out their heads from the photo.
Have kids search through magazines to find and cut out:
A full page to use as a backdrop
Body parts
Other things they wanted to add to the background
Put the collage together and glue.
Tips
Encourage the kids to be creative with this project - some of the more interesting finished projects didn’t use animal or human parts for bodies but parts of plants or machinery.


Snowglobes
Materials
- Small glass jar, like a baby food jar
- Little figurines and scenery
- Glitter
- Hot glue gun & glue
- Fabric scraps
Instructions
- If together, unscrew the lid from the jar. Arrange some small figurines and scenery inside the lid. Hot glue the scene down in the lid.
- Pour a bit of glitter into the jar. Fill with water.
- Screw the lid back on the jar. Hot glue around the edge of where the lid and jar meet. This will prevent the snowglobe from being opened.
- Take a small fabric scrap and hot glue it around the edge of the lid.
- Flip over the jar and the snowglobe is complete.